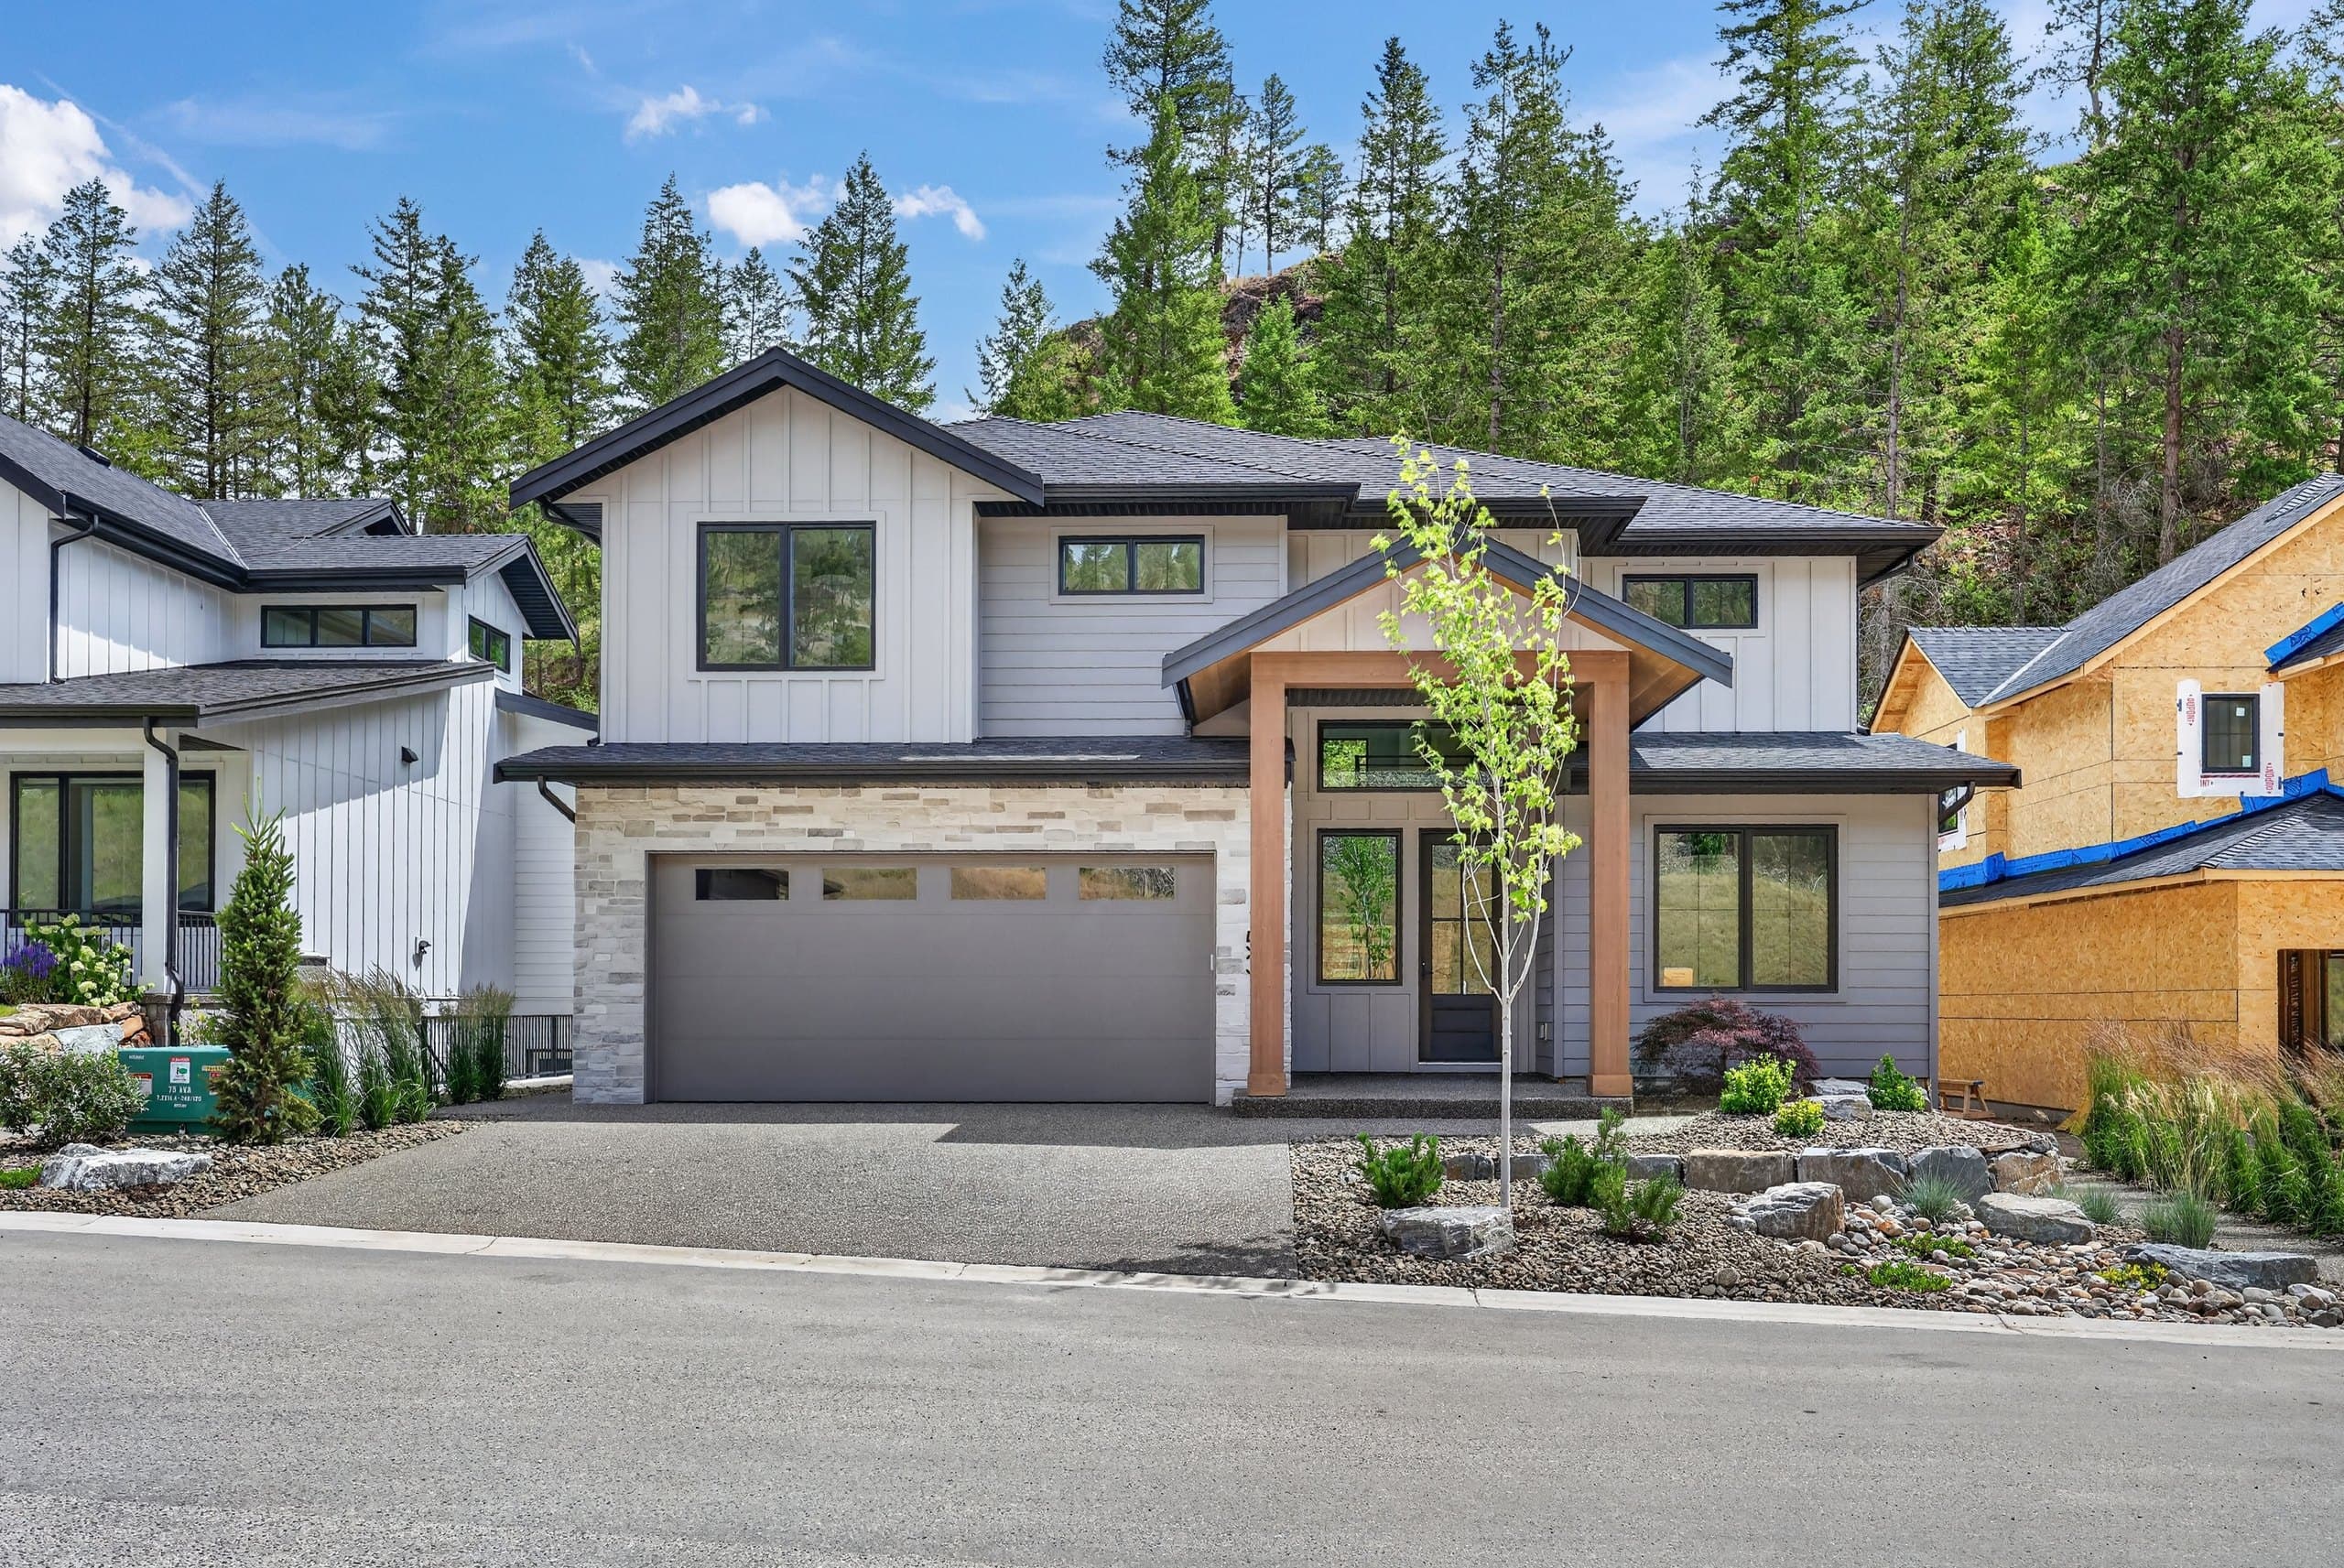
Use a tripod, shoot RAW and start around ISO 100 and f/8. Meter the scene, then slow the shutter as the light fades. Keep an eye on the bright windows and lights, and take darker brackets when you need to hold their detail.
In this guide
Start here, then meter the actual property
Camera settings aren't a recipe for how bright it should be. They're a steady starting point, so you can react predictably as the light changes.
| Control | Practical starting point | Why |
|---|---|---|
| Mode | Manual | Stops the camera changing several things between frames |
| File | RAW | Keeps your options open for highlights, shadows and colour |
| ISO | 100 or camera base ISO | Clean shadows for long exposures on a tripod |
| Aperture | f/8 | Plenty of depth of field without heavy diffraction |
| Shutter | Meter, then inspect | The one setting that follows the fading light |
| White balance | Fixed, roughly 4000 to 5000 K to start | Stops the colour jumping from frame to frame |
| Focus | Single point, then lock | Keeps every bracket lined up and equally sharp |
Follow the light, not one memorized shutter speed
These are starting ranges at ISO 100 and f/8, not guaranteed exposures. Meter the actual property and check the histogram.
Watch the histogram and the window highlights. This is often the longest stretch that works.
Use a stable tripod
Level the camera, settle the tripod, turn off lens or body stabilisation if the manufacturer says to on a tripod, and use a two-second timer, cable release or remote. Once you start the sequence, don't reframe. Even a small shift makes HDR blending, window pulls and masking harder.
Keep the walls vertical and leave room for a small crop.
Use a remote or timer, and don't touch the camera during long exposures.
Don't change the focal length, focus or filters partway through.
Wind, water, trees, people and cars may not blend cleanly.
- Camera with manual exposure and RAW capture
- A wide lens that suits the property, not just the widest one you own
- A solid tripod with a level head
- A remote release or a self-timer you've tested
- A charged spare battery and an empty memory card
- A microfibre cloth, a flashlight and a checklist of the property's lights
A tilt-shift lens can fix verticals optically, while an ordinary wide zoom is more flexible. Either way, keep the camera level. An ultra-wide lens won't save a weak composition, and it can make the foreground look huge.
Keep aperture and ISO fixed; move shutter speed
Changing the aperture changes the depth of field and the starbursts around lights. Raising the ISO shortens the exposure but leaves you less room to edit the darkest parts of the garden. For a tripod sequence, hold both steady and let the shutter speed get longer as it gets darker.
Those shutter speeds show how things progress. They're not a timetable. Your lens, how bright the house is, your latitude, the weather and the property's lights can all shift the whole sequence.
Bracket around a good base frame
Start by finding a base exposure that holds useful midtones. Then check both ends of the histogram. If the highlights or shadows don't fit in one frame, shoot a bracket without moving the camera.
The dark frames hold the lamps, windows and sky colour. The bright frames keep the detail in the house and garden. You can use fewer frames when the scene fits easily.
Auto bracketing is handy because it fires the same sequence quickly every time. Check that your camera only changes the shutter speed, and turn off auto ISO. If it can't do five frames, move the base exposure and shoot a second bracket with the camera still locked.
Use fixed white balance, then solve mixed light deliberately
Auto white balance can render each bracket differently as the sky darkens and the warm lights take over. Choose a fixed Kelvin setting or the same preset. Around 4000 to 5000 K is a practical place to start, but there's no one right number. Judge the neutral building materials, the sky and how warm you want it all together.
RAW makes overall colour changes easier, but it can't make every lamp, LED, window and reflection the same colour temperature. Don't try to fix mixed light by pushing one slider until part of the house looks wrong.
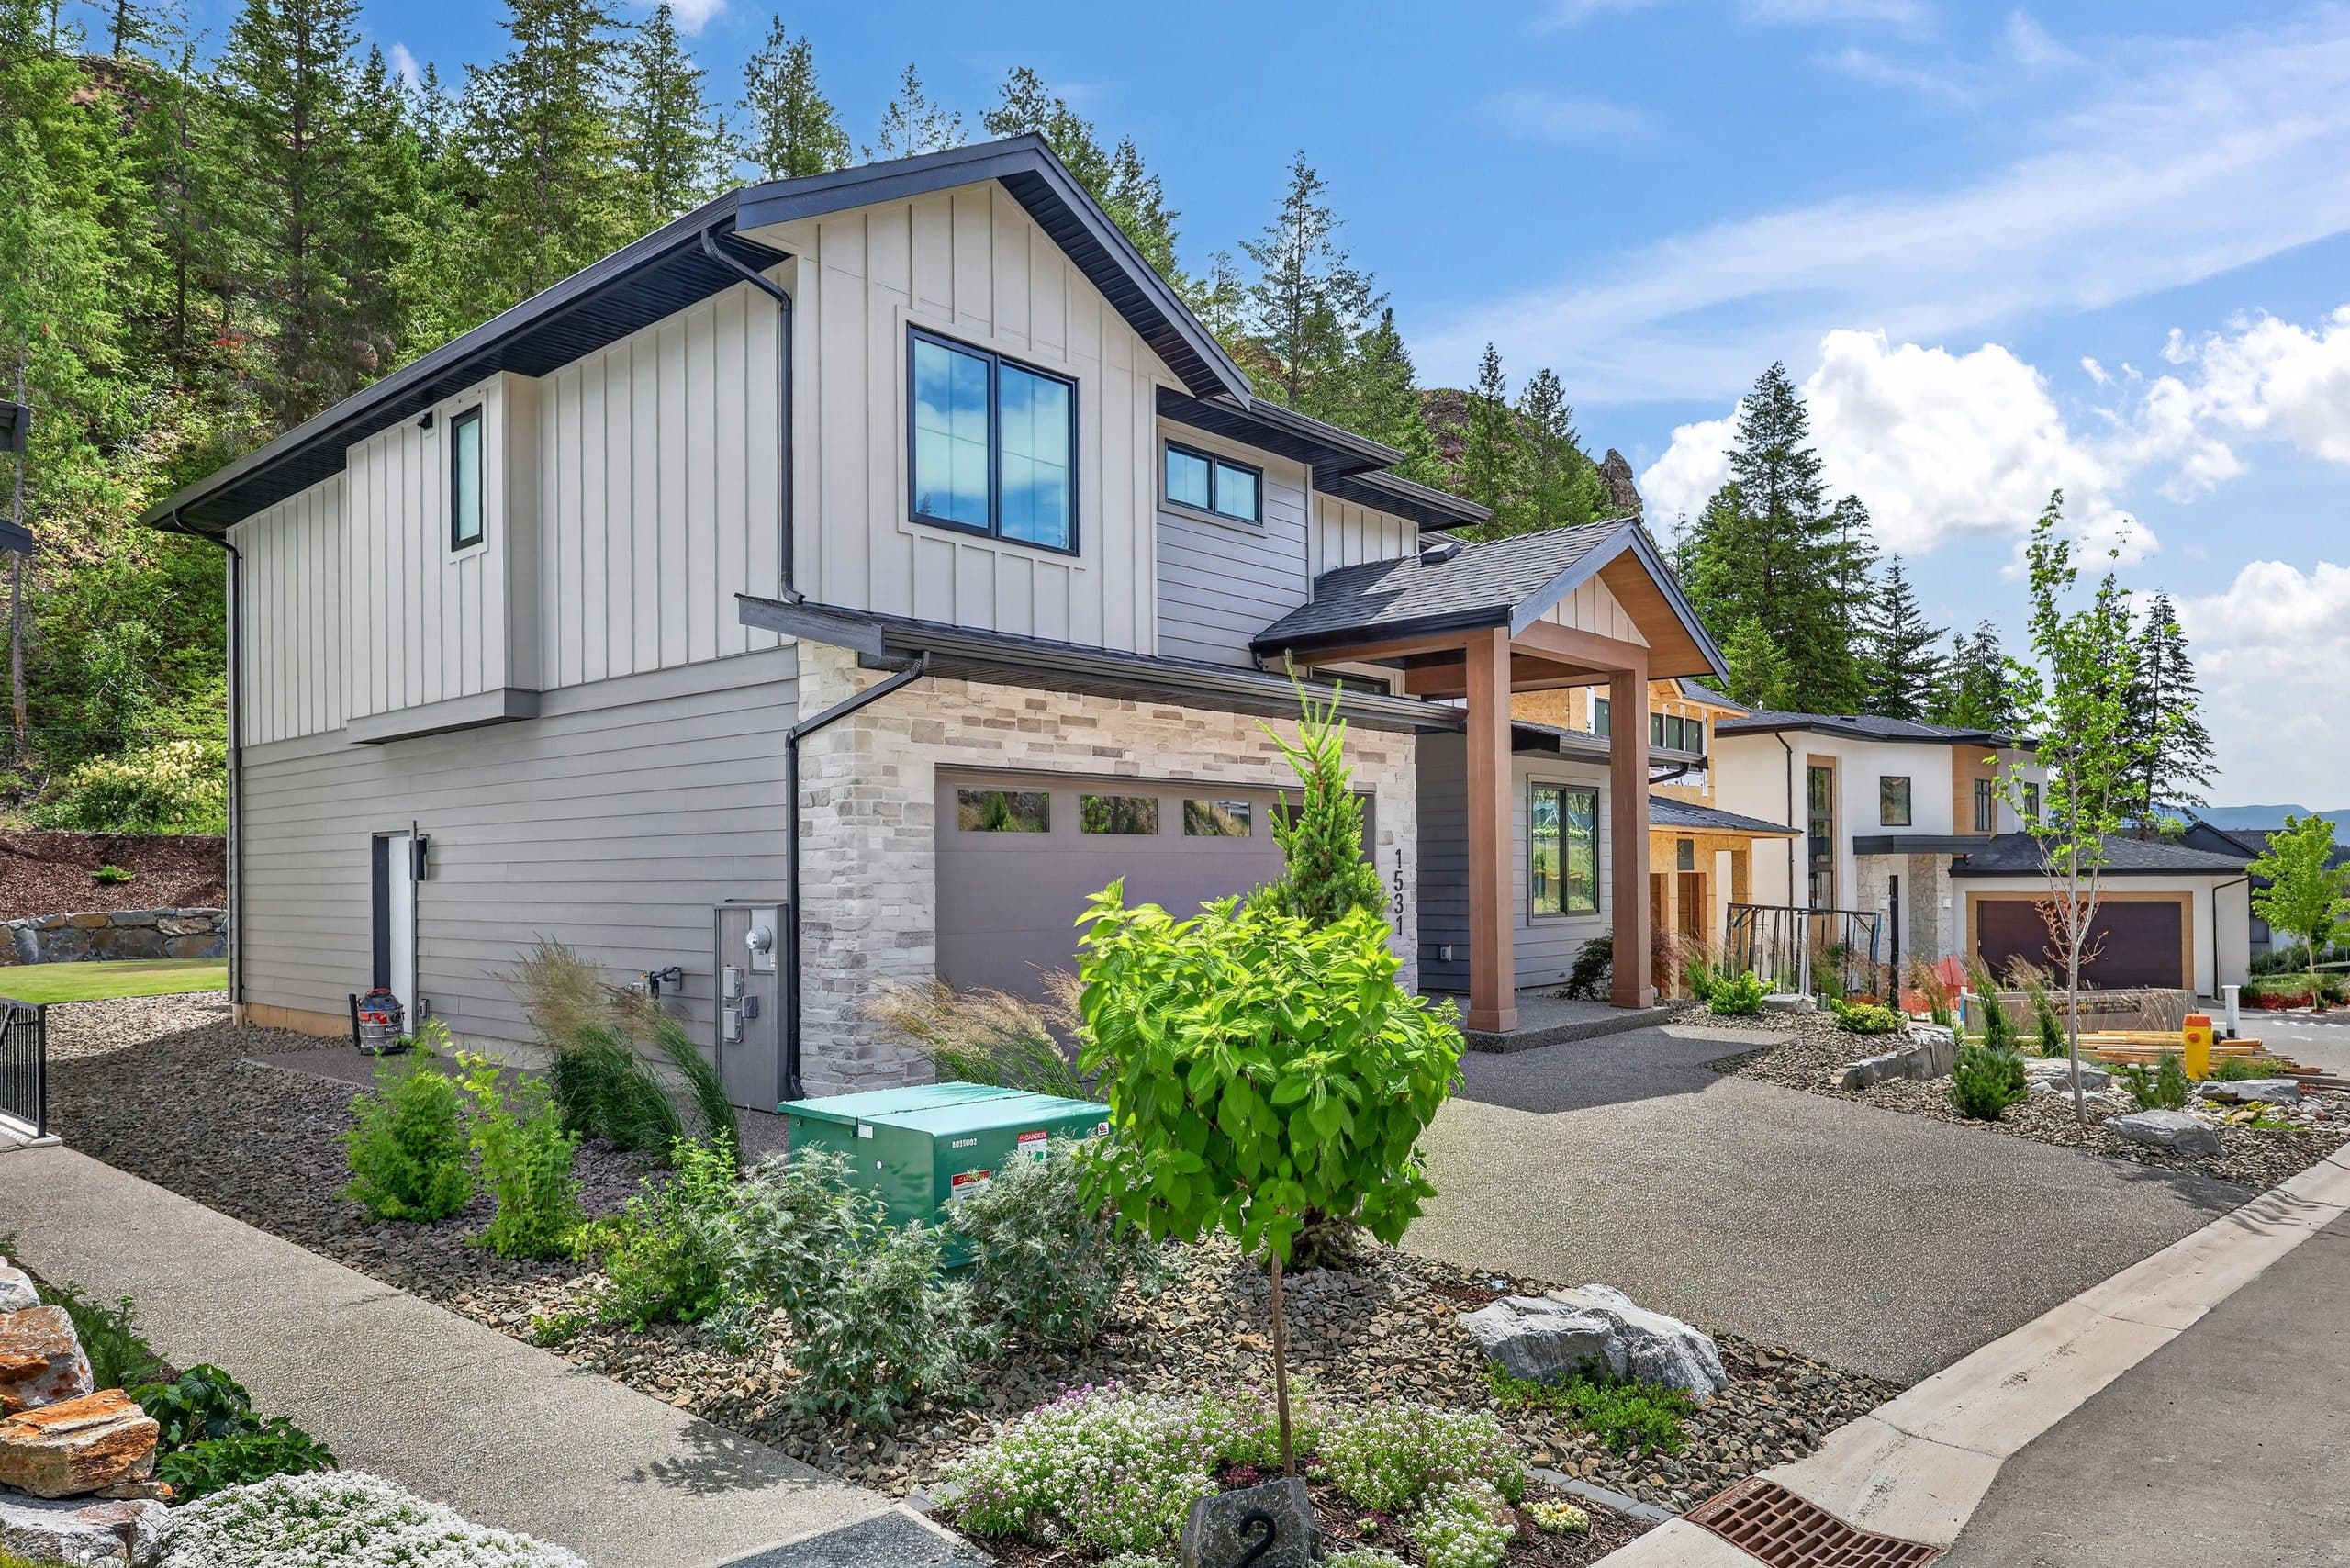
Focus once, verify, then stop refocusing
Put a single autofocus point on a high-contrast edge of the house near the main subject. Zoom in on live view to check it's crisp. Then switch to manual focus, or use back-button focus, so the camera doesn't hunt as it gets darker. Check the first long exposure for wind shake or tripod movement.
At f/8, most exteriors have plenty of depth of field, but plants in the foreground can still fall outside it. If something close and something far both need to be sharp, work out the depth of field for your actual focal length and distance rather than relying on a vague “focus a third of the way in” rule.
Repeat the same composition as the light changes
- Get there early. Compose, level, clean the lens, tidy what's in frame, test the property's lights and take a daylight backup shot.
- Start before sunset. Shoot your first full bracket while the garden and house still have easy detail.
- Repeat every few minutes. Slow the shutter and watch how the sky and windows compare.
- Note the balanced set. The best frame often comes when you can still see the sky and the lights feel warm without taking over.
- Keep going a little longer. A later set might work better, but stop before the house and surroundings fall apart into noise or black shadow.
Don't spend the best two minutes changing lenses or finding out a light is off. Getting prepared buys you time to watch rather than scramble.
I squint at the property and watch for the sky and illuminated windows to look roughly equal in brightness. It is a useful visual cue, not a replacement for checking exposure. Rather than betting on one perfect minute, I start early, leave the camera on the tripod and keep shooting brackets as the balance changes.
Windows and fixtures determine the dark end of the bracket
Warm windows only help if they keep a believable shape and some variety. Use the darker brackets to hold the blinds, window frames, light fittings and the rooms you can see. Don't turn every pane into the same solid orange rectangle. If one room is much brighter than the rest, dim it or turn some lamps off before you shoot, rather than hoping one edit will fix it.
- At least one sharp base frame
- Sky, window and lamp detail in the darkest frame
- House and garden detail in the brightest frame
- Zoom in on rooflines, signs, railings and plants
- RAW files, all the same size
- One clean backup sequence
A clean daylight exterior can still make a good starting point for virtual twilight. Keep the original, and check the finished image against the real property.
Twilight camera settings FAQ
What are good starting settings for twilight real estate photography?
On a tripod, start around ISO 100, f/8, RAW, with a shutter speed based on your meter and histogram. That might be anywhere from 1/30 of a second before sunset to several seconds in blue hour. The scene sets the exact number.
Should I use aperture priority or manual mode?
Manual is easier for a planned twilight sequence, because you can leave the aperture and ISO alone and just slow the shutter as the light fades. Aperture priority is fine for scouting, but check every bracket and turn off auto ISO.
How many brackets should I shoot?
Three frames two stops apart can cover a moderate scene. Five frames one stop apart gives you smoother cover when the sky, the house, the windows and the lights span a wider range. Go by the histogram rather than a fixed number.
What white balance should I use at twilight?
Use a fixed Kelvin value or the same preset throughout, so the colour doesn't jump from frame to frame. Around 4000 to 5000 K is a reasonable place to start, but mixed lights and the sky colour still need your eye. Shooting RAW keeps your options open.
Where should I focus for a twilight exterior?
Use single-point autofocus, or focus manually, on a high-contrast edge of the house near the main subject. Check it's sharp zoomed in, then switch to manual focus so autofocus can't shift between brackets.
When is it too dark to continue?
Stop when the sky no longer stands out from the house, the garden turns noisy or featureless, you can't hold the highlights, or wind and long exposures are adding distracting movement. Darker isn't automatically better.