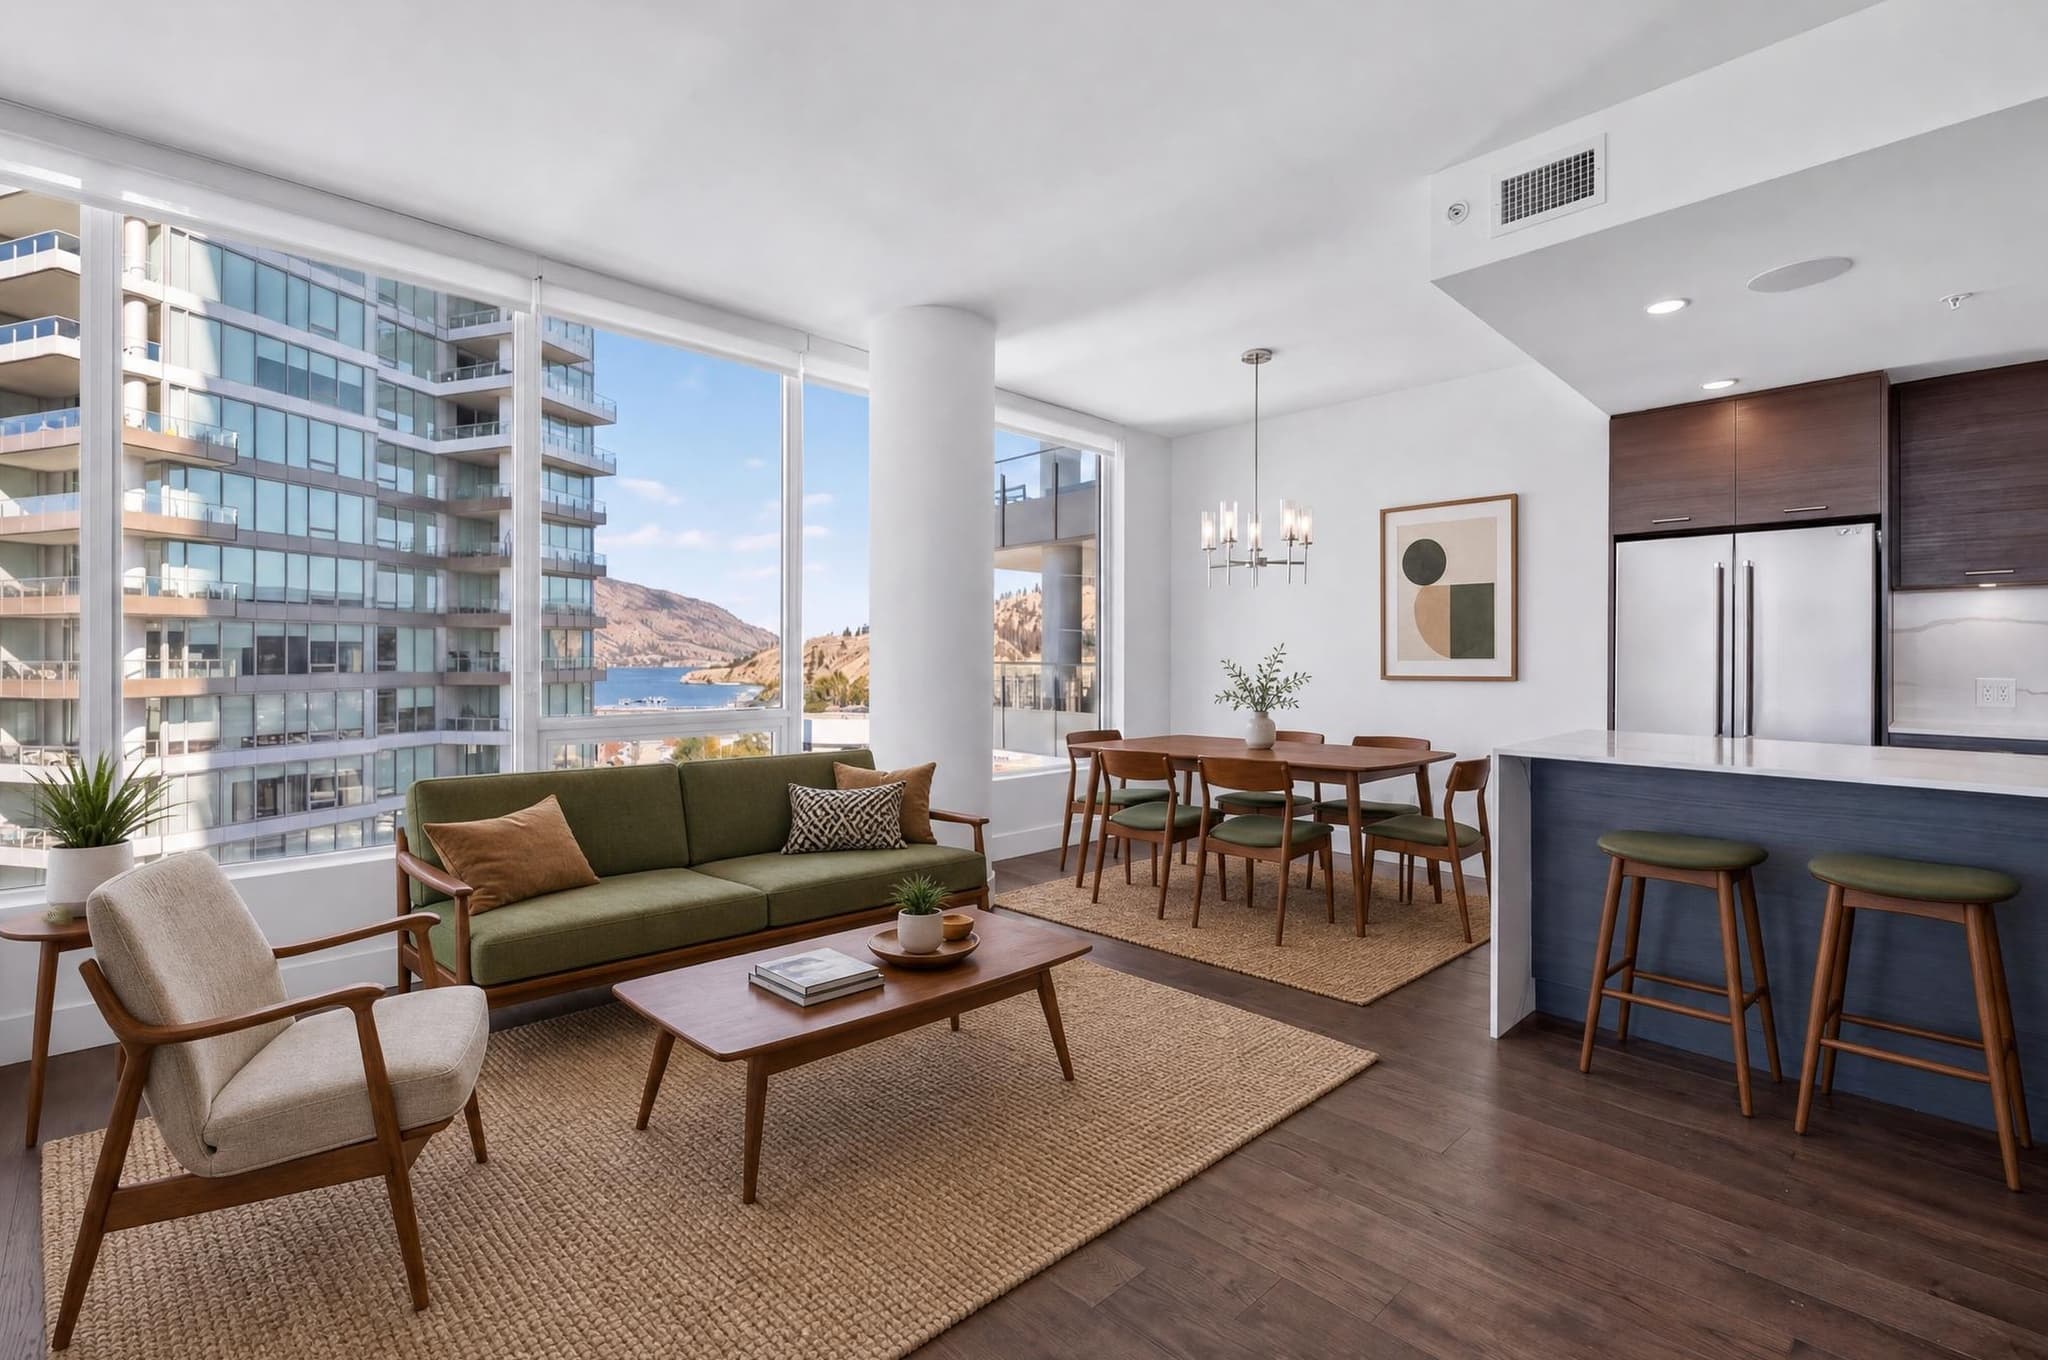
Photograph the rooms, how they connect and the features that make this house worth a closer look. The checklist below means you don't have to rely on memory. Use it on site, then cut the duplicate views when you pick the final gallery.
In this guide
Plan which rooms and features to photograph
A useful gallery answers four questions fast. What does the property look like from the street? How do the main rooms connect? What makes this one different? What’s the condition and feel of the spaces that matter? Start from those, not from a number you decided on before you saw the house.
The outside, living room, kitchen, main bedroom, bathrooms, the back of the house and the main outdoor space.
Views, renovations, architecture, flex rooms, premium appliances, pools, workshops or anything else that's a real selling point.
How the rooms connect, the approach, the lot, and a second angle only when it tells buyers something new.
Prepare once, then photograph
Walk the whole property before the camera comes out. Clean the windows and anything shiny, clear the counters, put away clutter, straighten the furniture, check the bulbs, open the blinds and clear anything from the outside you're allowed to move. Doing it first saves retouching time later, and the finished photo never has to pretend the house is tidier than it is.
Outside first, then every room: bins, cars, cords, screens, fans, TVs, toilet lids, pet stuff, laundry, personal photos and anything reflective.
Decide once how you'll handle the blinds and lights, swap out mismatched bulbs, and stick to it room to room instead of making it up as you go.
36 checks from arrival to delivery.
Only use the property-specific items when they help explain this particular house. A complete gallery isn't the same as a crowded one.
Prepare the whole property
Cover the listing story
Add the reasons to remember it
Mark the evening frames
Check the capture
Build the final gallery
36 checks remaining.
Choose a room-by-room order
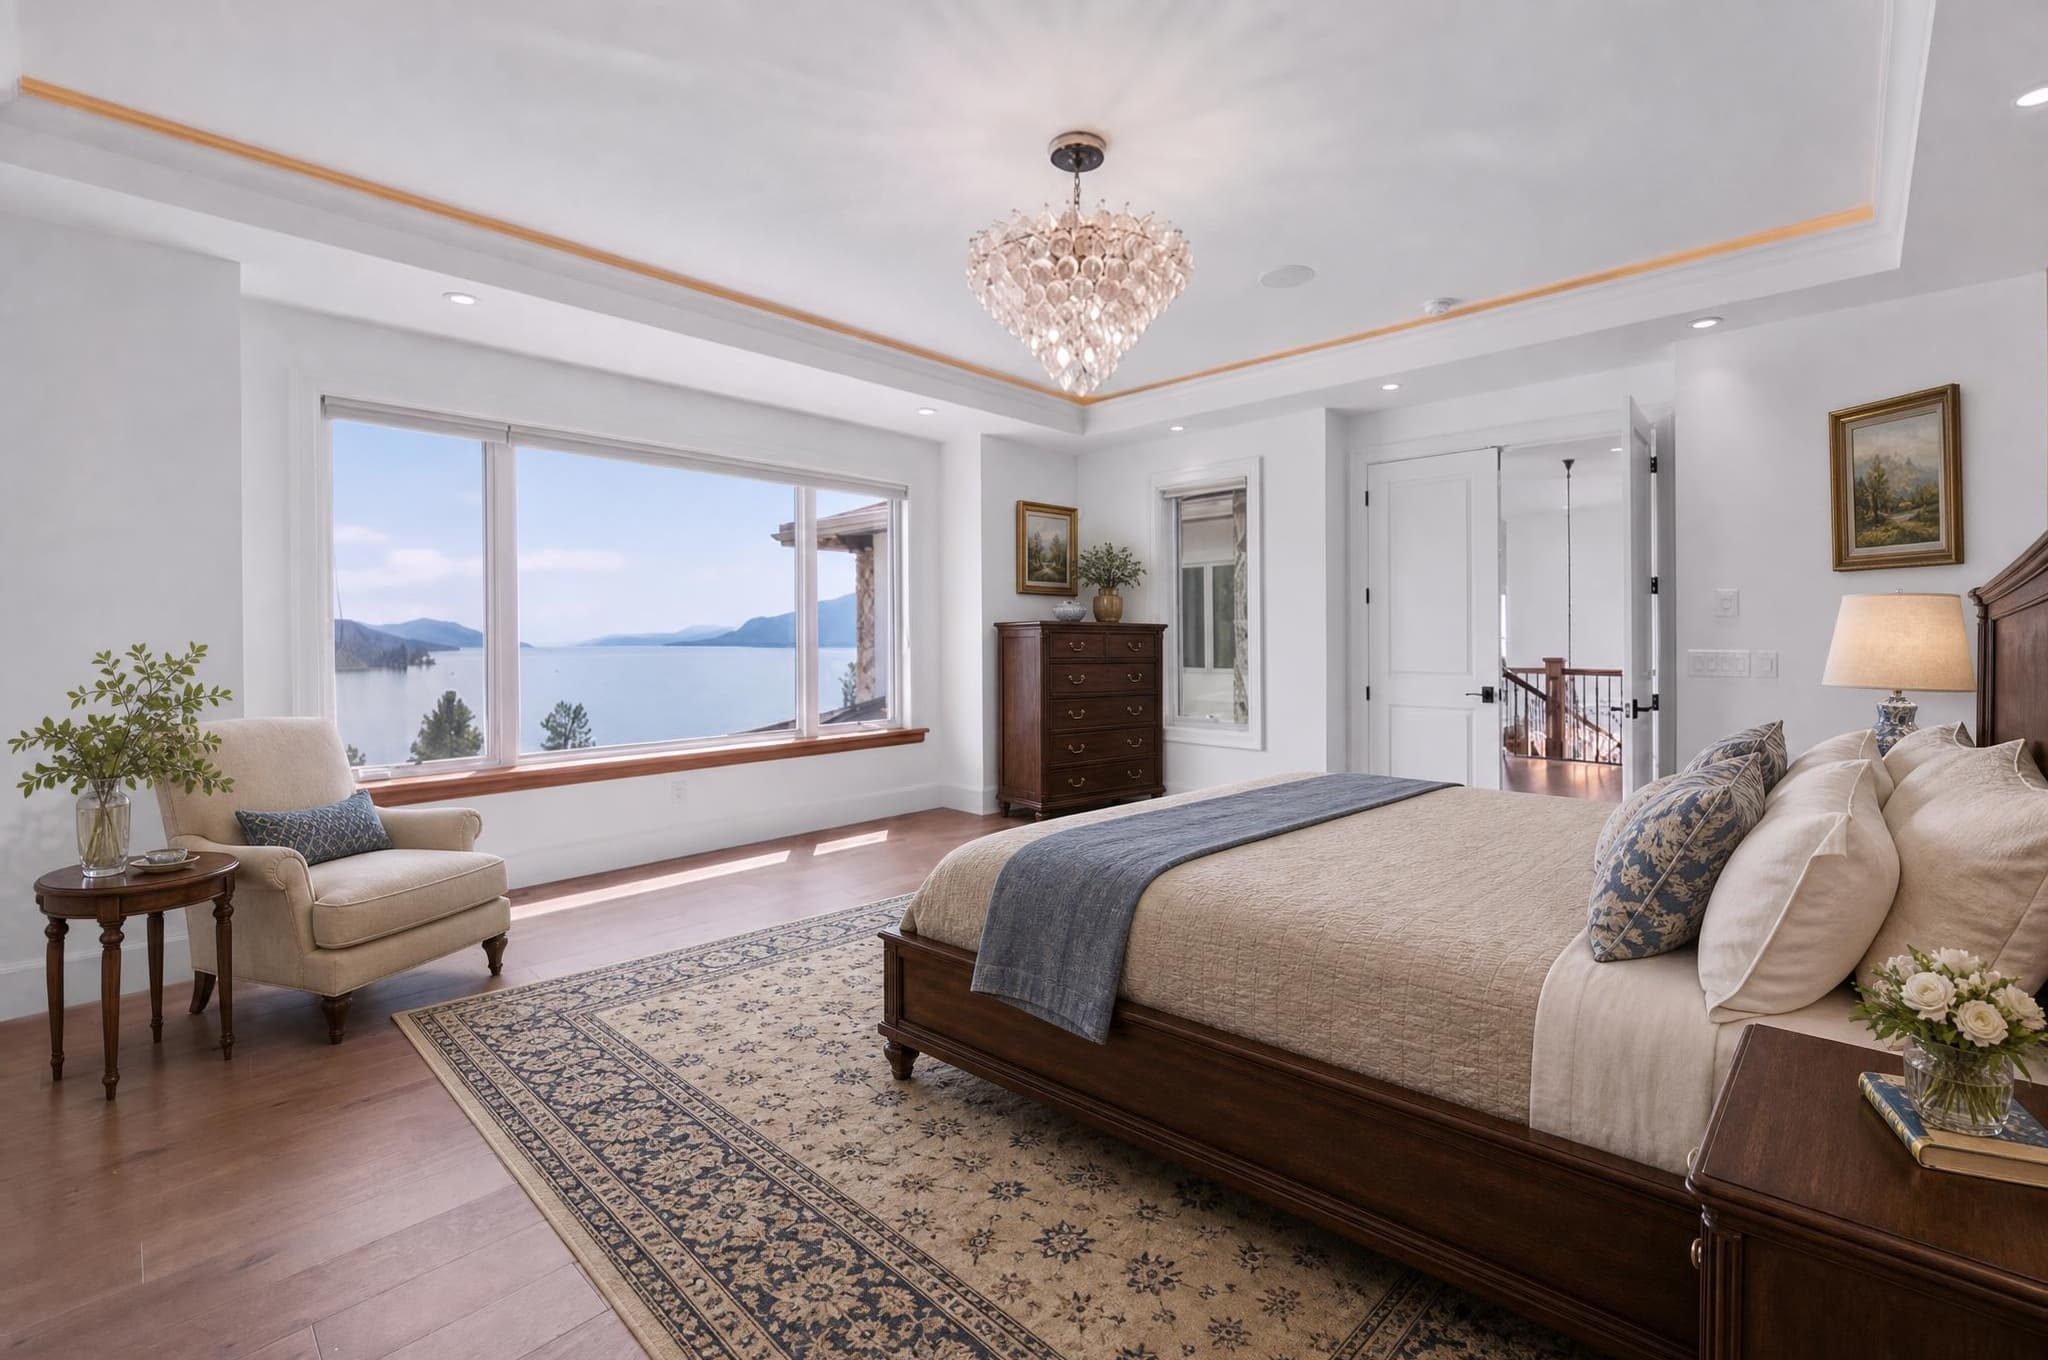
Give each important room one strong wide shot before you add a second. A second angle is worth it when it shows the layout, the size, a view or a feature the first one couldn't. Keep the camera level, don't let things in the foreground crowd the shot, and use open doors to give a view through to the next room.
| Space | First frame | Add only when useful |
|---|---|---|
| Living room | A wide shot with a clear focal point | How it connects to the kitchen, dining, view or fireplace |
| Kitchen | The layout, cabinets, counters and island | Premium appliances, the pantry, a breakfast area or the room next door |
| Primary bedroom | The bed wall, floor space, windows and how you move through it | A view, the ensuite or standout architecture |
| Bathroom | A clean wide shot without distorted fixtures | Shower detail, a double vanity, a view or a premium finish |
| Secondary room | One honest wide shot | A second angle only if the size, view or use is different |
Include the features buyers need to see
A detail shot is worth including when it backs up a real feature: craftsmanship, a renovation, a premium appliance, a useful built-in, a water view, something outdoors. Skip the generic decor close-ups that don't actually help anyone understand the property.
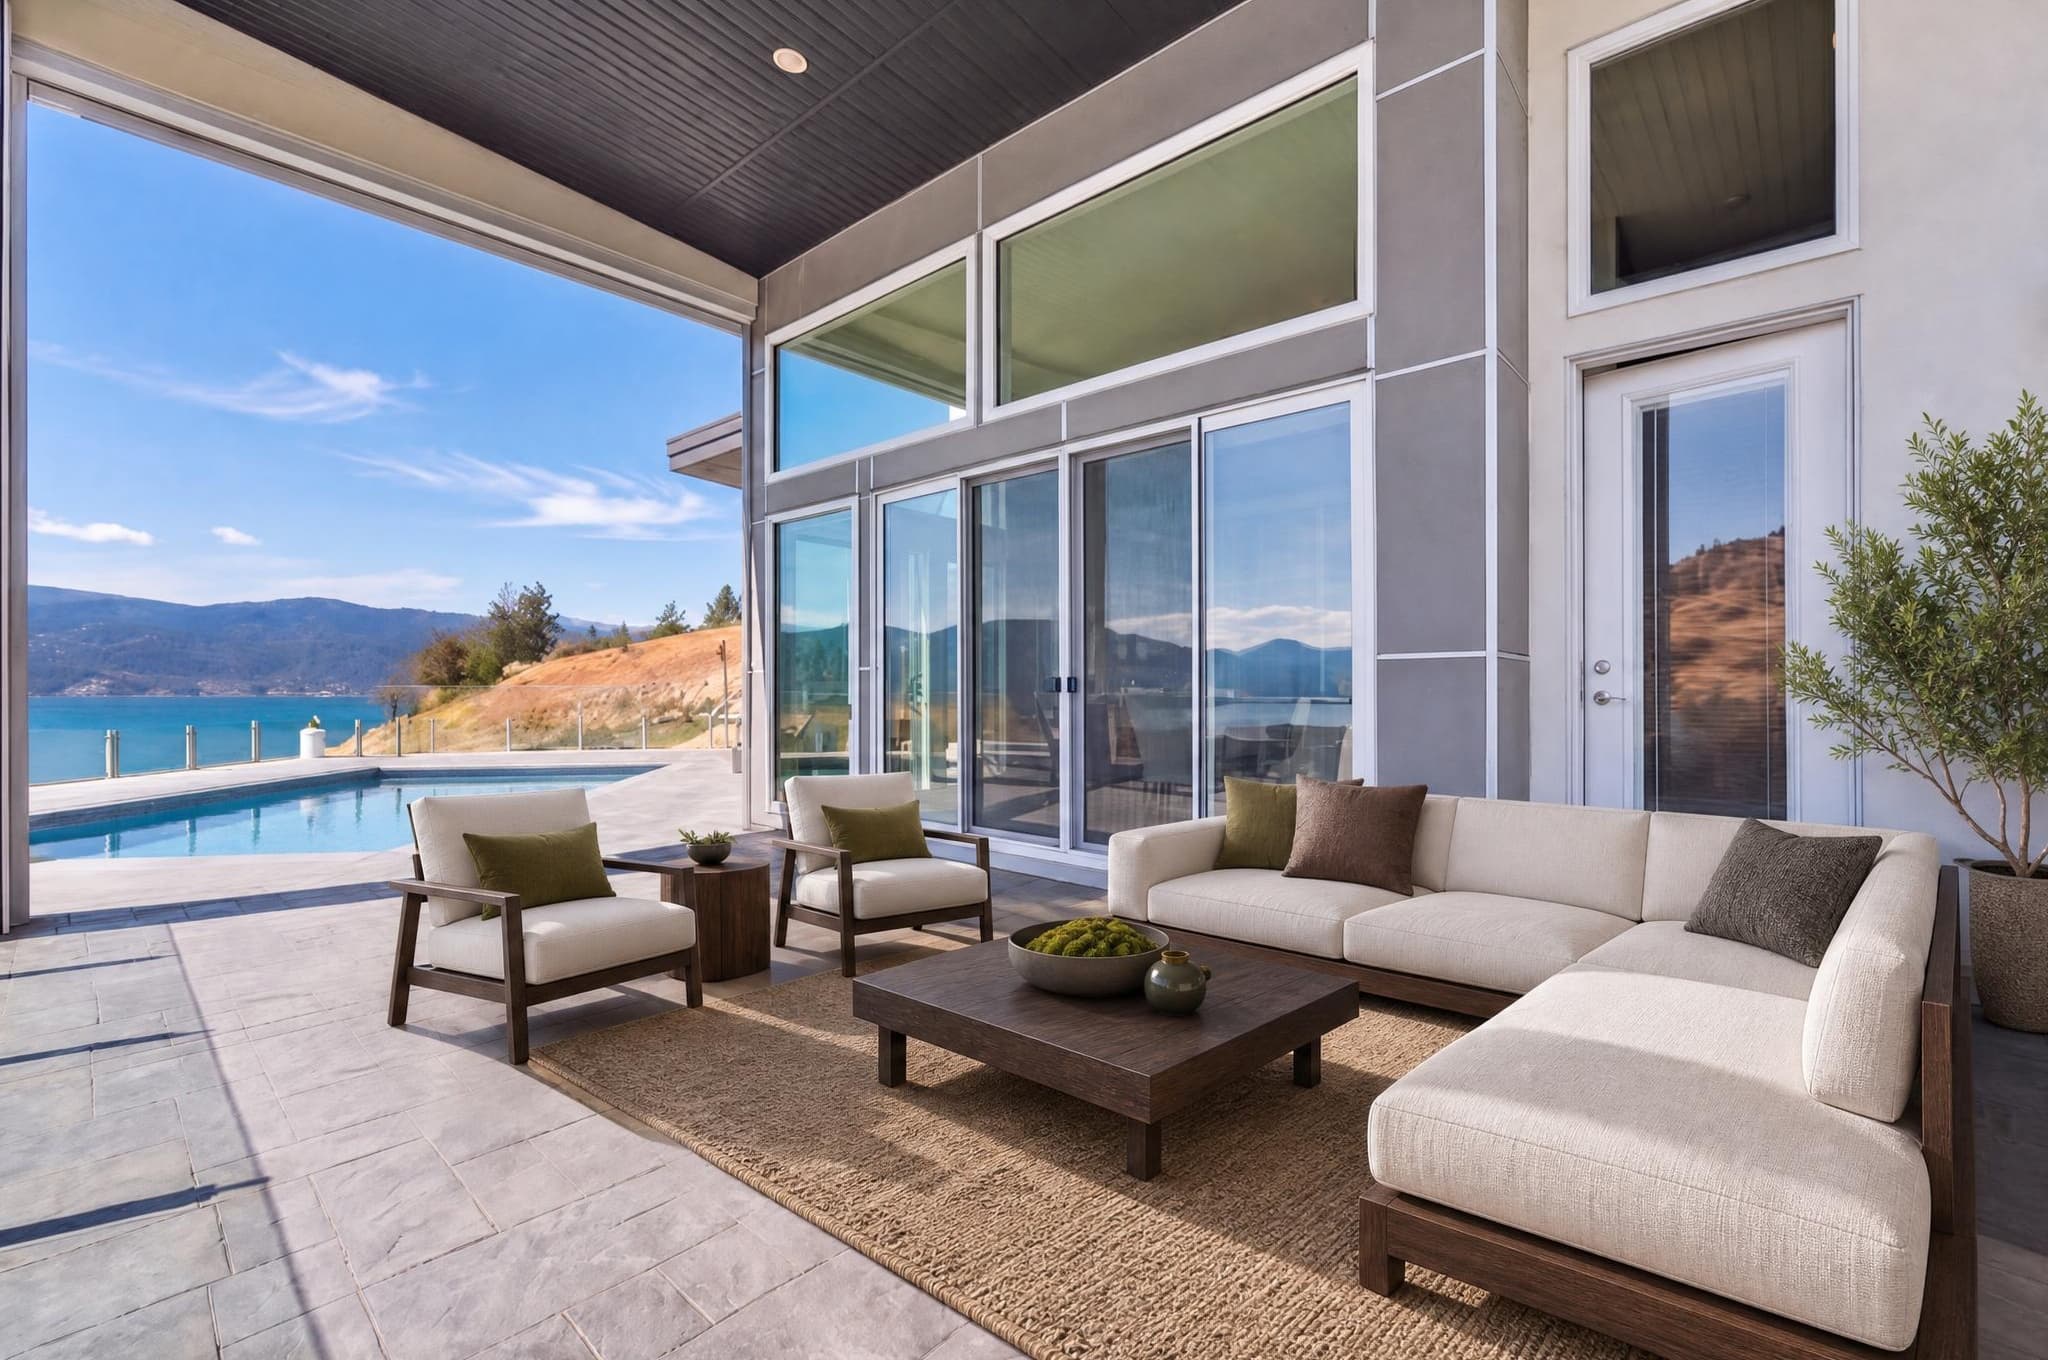
Choose possible twilight photos
The best candidates are usually the front of the house, the backyard entertaining area, the pool, the patio or a side of the house with a real view. You want a sharp, level photo with a garden you can read, clean roof edges, visible windows and enough highlight and shadow detail to work with. If you can stay on site, leave one composition set up on the tripod from daylight through sunset. If the schedule or weather won't play along, keep the clean daylight frame for a virtual twilight later.
Try one evening style, then compare it with the original at full size before it goes in the gallery.
Select the final gallery
- Back up the originals before you select or edit anything.
- Pick the best version of each space, and cut the soft frames and near-duplicates.
- Correct everything the same way: exposure, colour, crop, lens distortion and verticals.
- Keep the property accurate by checking any real edit against the original.
- Put it in walkthrough order, from the arrival to the main rooms, other rooms, extras and the rest of the outside.
- Export for where it's going, using the current requirements, clear filenames and one last full-size look.
Real estate photography shot-list FAQ
How many photos should a real estate listing include?
There isn't one number that suits every property or listing site. Cover every important space, the outside, how the rooms connect and the real selling points, then cut the weak duplicates.
What are the must-have real estate photographs?
At the very least, get the front exterior, living room, kitchen, main bedroom, bathrooms, the back of the house and the main outdoor space. Then add the rooms and extras that really explain this particular property.
Should every room be photographed?
No. Include the spaces that help a buyer understand the house or show off something worthwhile. A tiny closet, an unfinished area or yet another similar bedroom can just add clutter, unless it's unusual or the client specifically wants it.
What should be removed before real estate photography?
Personal photos, pet stuff, toiletries, laundry, visible cords, remotes, bins, cars, hoses and anything else temporary. Don't remove or hide real problems with the property in the finished photos.
Which photos make good virtual twilight candidates?
A sharp, level exterior with a clean line between roof and sky, visible windows, a garden you can read, and detail in the highlights and shadows. The front of the house, backyard entertaining areas, pools, patios and strong views are the usual picks.
How should listing photos be ordered?
Lead with your strongest honest exterior or the signature view, then walk people through the house: the arrival, the main living spaces, the main bedroom, the other rooms, the extras, the yard and then the rest of the outside.