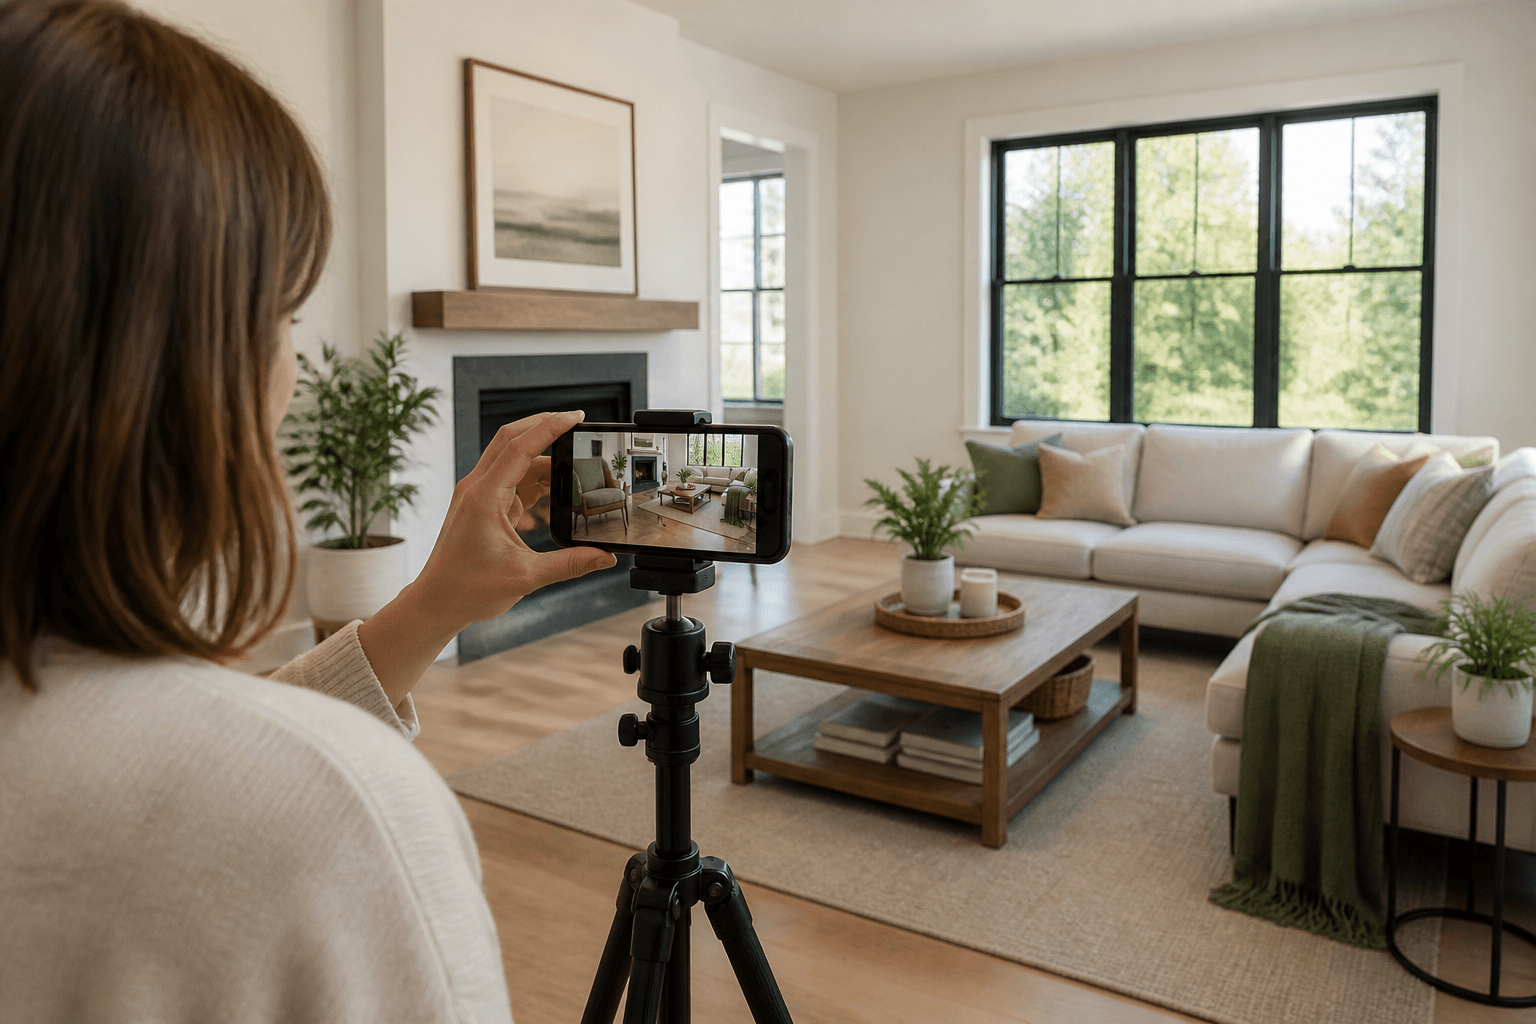
An iPhone can take a useful listing photo in a tidy room with light that's easy to manage. Keep it level, start with the 1× lens and watch the windows. For difficult lighting, or a listing where the photos have more work to do, hiring a photographer is usually the better call.
In this guide
Know when an iPhone works, and when it doesn’t
The phone isn't automatically the weak link. Careless prep, wobbly framing, blown-out windows and inconsistent editing can hurt a listing shot on any camera. A recent iPhone copes well with straightforward rooms and exteriors, but it can't create dynamic range that isn't there, a better viewpoint or professional lighting after the fact.
Is your phone enough for this listing?
Tick what's already true before you start shooting.
You're asking the phone to do too much here. Professional lighting, bracketing, lenses and editing will protect the listing.
Treat the result as a minimum, not a guarantee. A modest rental in clean daylight and a high-value architectural listing may need completely different standards, even when both rooms look easy.
Prepare the property and the route
Make all the visual decisions before you start shooting: clean the surfaces, take out personal clutter, straighten the bedding and chairs, hide bins and loose cords, turn off screens, and decide whether the blinds are open or closed. Walk the property in the same order the listing gallery should go.
- Start with the best exterior or main living space, not the laundry.
- Show every important space once before you add extra angles.
- Remove temporary clutter, but don't hide damage or change anything real about the property.
- Clean the phone lens with a proper lens cloth. Fingerprints soften the contrast and cause flare.
- Turn on the camera grid and level in Settings so you can see the alignment before every shot.
Choose the least-distorting lens that fits
Use 1× first
It usually gives the most natural room proportions. Step back, open a door or adjust your angle before you switch lenses.
Use 0.5× cautiously
Keep important furniture away from the edges. If a sofa or island looks stretched, the photo is giving a poor picture of the room.
Skip digital zoom
Move your feet, or crop later. Pinching to zoom between lenses can lose detail without giving you a better view.
Which lenses you have, and how good they are, depends on the iPhone model. The rule doesn't change: use the least-wide view that shows the room honestly, and check the corners before you move on.
Keep the phone level and the room believable
Start around chest height with the phone held sideways. Use the grid to place the main walls and openings, then watch the level indicator and the vertical edges of doors, cabinets and window frames. Tilt up and the walls fall away. Tilt down and they lean in.
| Decision | Good starting point | Common failure |
|---|---|---|
| Height | Chest height, adjusted for the furniture and the shape of the room | Shooting from eye level so the ceiling takes over, or from waist height so the counters do |
| Position | A corner or doorway that shows how you move through the room and the space next door | Backing into a corner just to make the room look bigger than it is |
| Orientation | Landscape for the main listing photos | Mixing portrait and landscape without a plan for delivery |
| Verticals | Straight in camera, with a light correction afterwards if needed | Heavy correction that stretches the room and crops off important edges |
Lock focus, lower highlights, and respect HDR limits
The Camera app sets focus and exposure automatically. To keep a room consistent, tap where you want to keep midtone detail, then touch and hold until AE/AF Lock appears. Drag the exposure slider down a little when the windows or lights lose detail. Apple's current camera guide also covers the Grid and Level controls, and notes that the controls available depend on the model.
Phone HDR is done in software and can change with the device, the software version and the shooting mode. Judge the photo, not the label. Zoom in on window edges, lamps, dark furniture and moving leaves. If you see white windows, muddy shadows, halos or an unnatural flatness, change the light or how you're shooting rather than pushing the edit harder.
Shoot when daylight fills the room without shining straight in through the window.
Pick one and stick with it. Lamps of different colours can leave patchy walls and ceilings.
A small tripod and the timer cut blur and keep your camera height the same from room to room.
Check one shot at full size early, rather than finding soft files after the house has been put back together.
Follow the same shot sequence in every property
The front exterior, main living space, kitchen, main bedroom and the best view or amenity.
Use one clear angle first. Only add a second when it shows the layout, size, storage or how rooms connect.
Show how the living, dining, kitchen, outdoor areas, stairs and hallways connect.
Check the focus, verticals, windows, mirrors, reflections, duplicate angles and missing rooms at full size.
Take more shots than you plan to deliver, but don't publish them all. A tight gallery of photos that are each different is easier to follow than repeated angles with small changes.
Photograph exteriors when the facade can hold detail
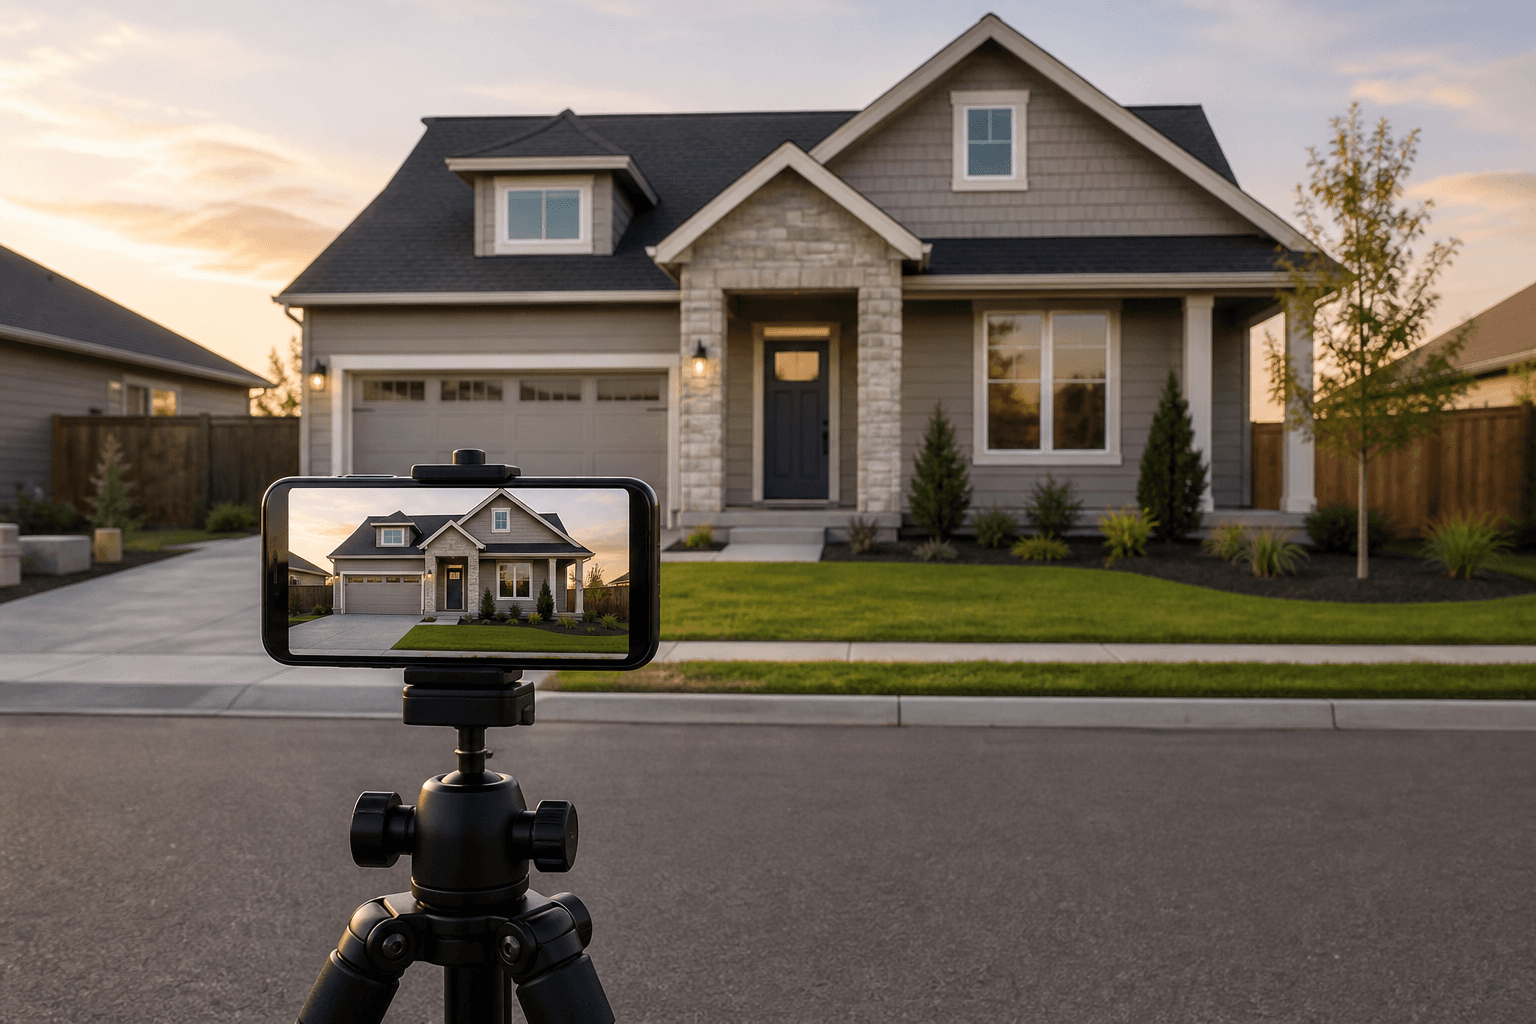
Use soft morning or late-afternoon light when you can. Avoid harsh shadows across the front yard, blown-out clouds, flare from a wet lens, bins, cars and temporary signs. Keep the phone level, include the path to the front door, and skip the 0.5× lens if it bends the roofline or makes the front yard look enormous.
For twilight, a phone works best while there's still enough daylight to keep the garden and architecture clean. Keep it steady, lock focus and exposure, take several shots as the light drops, and stop when noise, flare or movement start making the property look worse. For more detail, see the guide to timing exterior photos.
Protect originals and deliver compatible files
Keep the original full-resolution files before you edit anything. HEIC is efficient and widely supported on Apple devices, but some listing systems and clients still expect JPEG. Apple notes that HEIF photos may convert automatically when shared with devices that can't read them, and has a Keep Originals transfer setting. Check what the destination needs, then export a copy that works while keeping the original.
- Don't deliver screenshots.
- Don't send full-resolution originals through services that quietly compress them.
- Back up the originals before you crop, straighten or relight anything.
- Apply one consistent edit across the set, then check skin tones, paint, grass, sky and window colour.
- Remove location data when privacy or the client's policy requires it, without stripping information you need.
For current instructions, see Apple's guides to camera tools, focus, exposure, grid and level and HEIF and HEVC media.
Know when to hire a real estate photographer
A luxury, architectural, waterfront or design-led listing needs reliable shooting and editing across the whole gallery.
Dark rooms, bright views, shiny surfaces and a mix of light fittings may need bracketing, flash or compositing.
Tight deadlines, occupied homes, a narrow weather window and travel all make a failed shoot cost more than professional help.
Look at a photographer's real estate portfolio, not just their portraits or events. Ask about vertical correction, how they handle windows, twilight, turnaround, licensing, backup gear and what happens if the weather changes. The best setup might be a mix: a photographer for the main set, and a phone for condition records or small updates later.
Use virtual twilight without rewriting the property
A sharp, level, full-resolution phone photo can work for virtual twilight if you can clearly see the real front of the house, windows, garden, fixtures and view. Avoid compressed copies, blown-out skies, extreme wide-angle distortion, a house hidden behind something, and requests to add permanent lights or features.
Compare three evening styles and make sure you still recognise the property.
iPhone real estate photography FAQ
Can you take professional real estate photos with an iPhone?
An iPhone can take strong listing photos in rooms that are prepared and evenly lit, as long as the phone is level, steady and used within the limits of its lenses and exposure. Tricky windows, very small rooms, premium listings and complicated lighting still benefit from a professional shoot.
Should I use the 0.5× lens for real estate photos?
Use 1× whenever the room fits. The 0.5× lens can help in a really tight space, but it stretches things near the edges and can make rooms look bigger than they are. Step back first, keep the phone level and check the edges.
What height should I hold my phone for interior photos?
Start around chest height, then adjust for the room. Keep enough floor and ceiling to show the space without either taking over, and keep the walls vertical by holding the phone level.
How do I stop windows from looking white?
Tap and hold on a midtone area to lock focus and exposure, then bring the exposure down until the window keeps some detail. If the room gets too dark, the scene may be more than one phone exposure can handle, and you'll need a better time of day, bracketing, lighting or professional help.
Should real estate photos be HEIC or JPEG?
HEIC keeps an efficient, high-quality original, while JPEG works almost everywhere. Keep the full-resolution original, check what the person receiving it accepts, and export a copy that works rather than sending a compressed screenshot or a copy from a messaging app.
Can an iPhone photo be used for virtual twilight?
Yes, if the daylight photo is sharp, full resolution, level and accurately shows the real architecture, garden, windows and permanent fixtures. Changing the light shouldn't add or remove anything about the property.