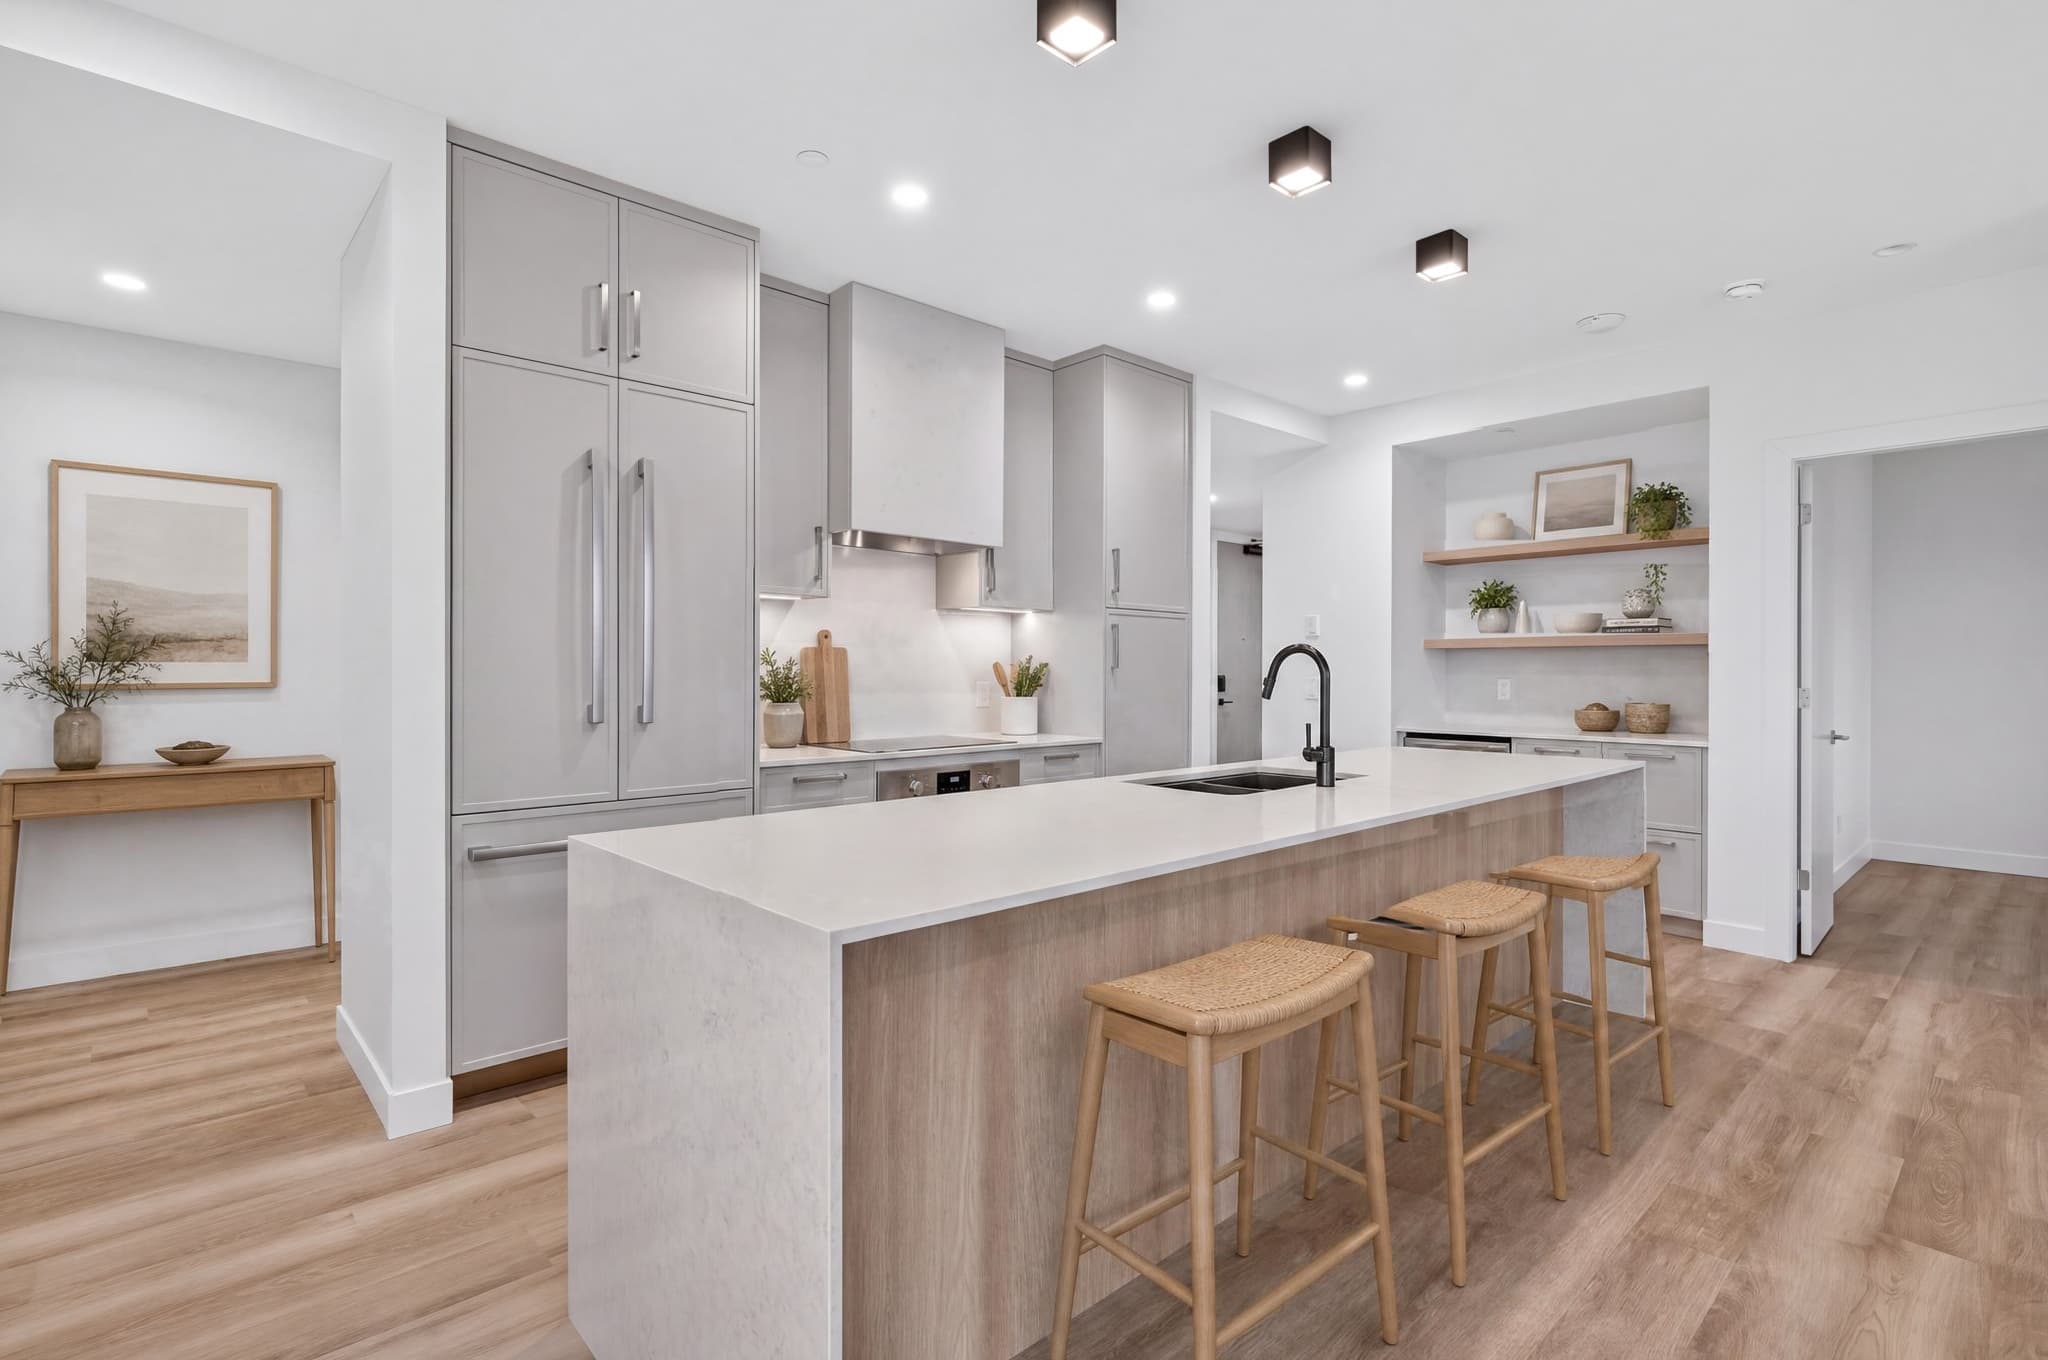
Run through these 20 checks before you send a gallery. They cover backups, straight lines, exposure, colour, retouching and the final exports. Your ticks are saved on this device, and you can print the list if you'd rather have it on paper.
In this guide
20 checks before the files leave your desk.
Go from keeping the files safe, to overall corrections, to close-up checks, to delivery.
Protect the job before editing
Fix geometry, tone, and colour
Review the details buyers notice
Approve the set and export
20 checks remaining.
Cull and back up before detailed editing begins
Editing starts with looking after the files. Keep an untouched copy of every original, then cut the frames that are soft, doubled up, badly timed or incomplete. You're not aiming for the most photos. You're aiming for a clear walk through the house.
Put your picks in order early. Check that the outside, the main living spaces, kitchen, bedrooms, bathrooms, special features and the neighbourhood all show up in a sensible order. Mark anything that needs special treatment, like the lead exterior or a twilight candidate, but keep it out of the main correction pass.
- Originals: read-only
- Selects: the approved working set
- Finals: full-size edits
- Delivery: exports ready for where they're going
Fix geometry first, then exposure and colour
Straight lines are the foundation. Level the horizon, fix the converging verticals and apply the right lens profile before you work on the mood. Check the corners afterwards, because heavy distortion correction can stretch furniture, cabinets and doorways near the edges.
Then balance the exposure and contrast while holding detail in the bright windows and the shadows that matter. Get rid of an unwanted colour cast without making every warm bulb, wood floor and painted wall look the same. A good correction keeps the character of the materials in the room.
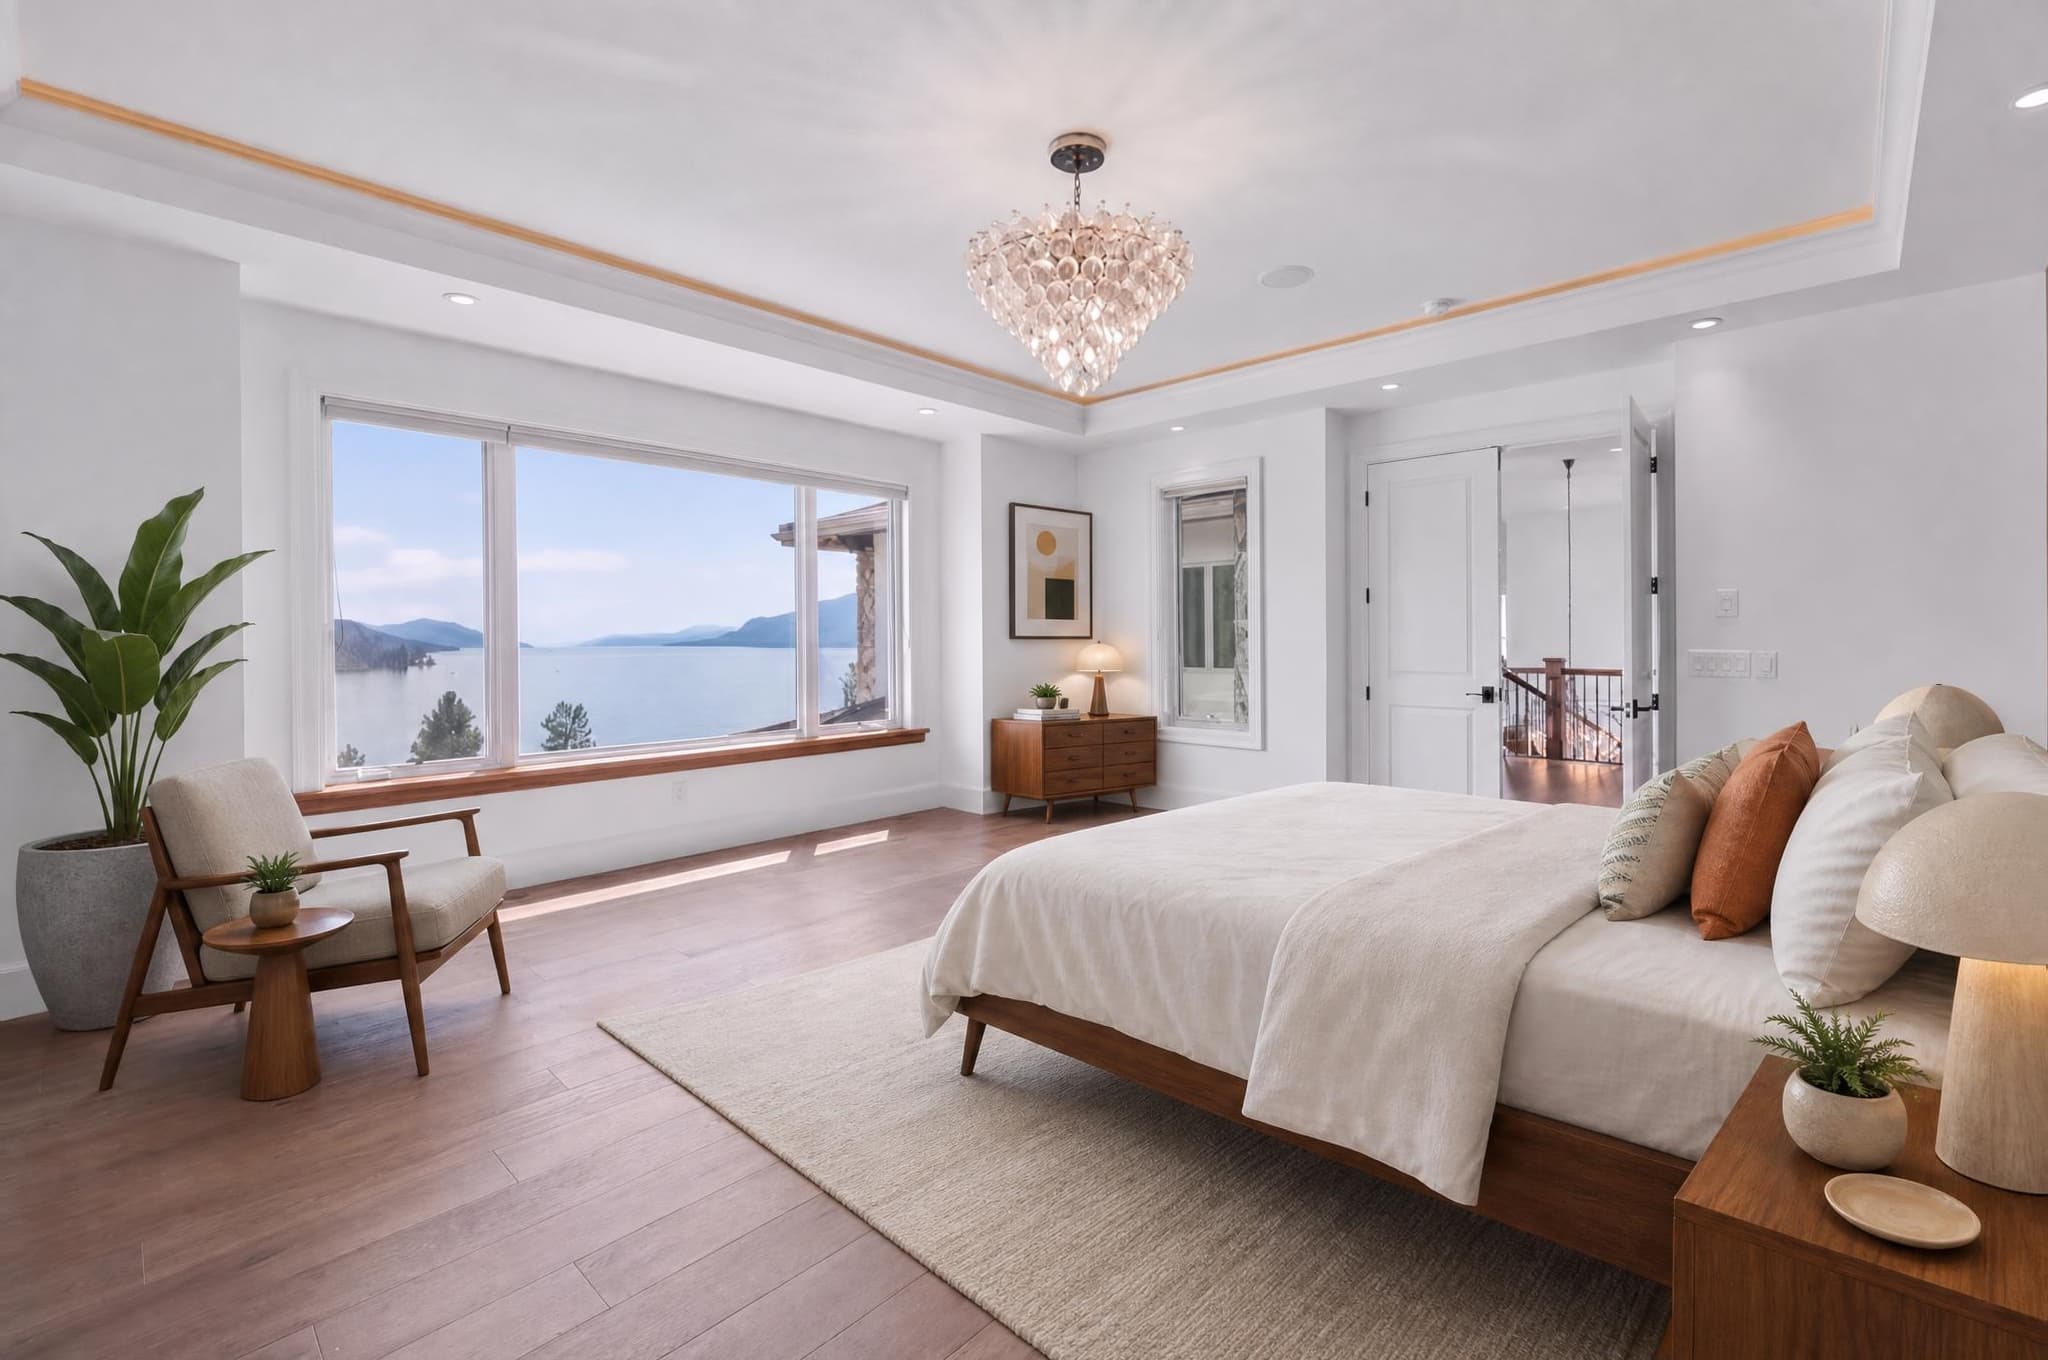
Zoom in where masks, reflections, and texture can fail
Check your local edits in the same order every time. Windows and mirrors first, then rooflines, trim, furniture edges, plants, paving, water and repeating texture. At 100%, look for bright halos, dark seams, rough masks, cloned patterns, colour noise and crunchy sharpening.
Does the composition feel natural? Is the house still the subject?
Follow the edges, reflections, texture, masks, noise and sharpening.
Compare the brightness, white balance, crop and flow with the photos either side.
Remove distractions without rewriting the property
Temporary clutter and permanent facts aren't the same thing. A loose cable, your own reflection or a small movable item is usually a routine cleanup. Damage, utility equipment, structural features, the neighbours' buildings, access, fixtures and the real condition of the place can all change how a buyer sees the property.
Sky replacement, lawn work, window masking and virtual twilight need the same care. The edit has to agree with the scene around the roof, trees, fences, reflections and horizon. Keep the original.
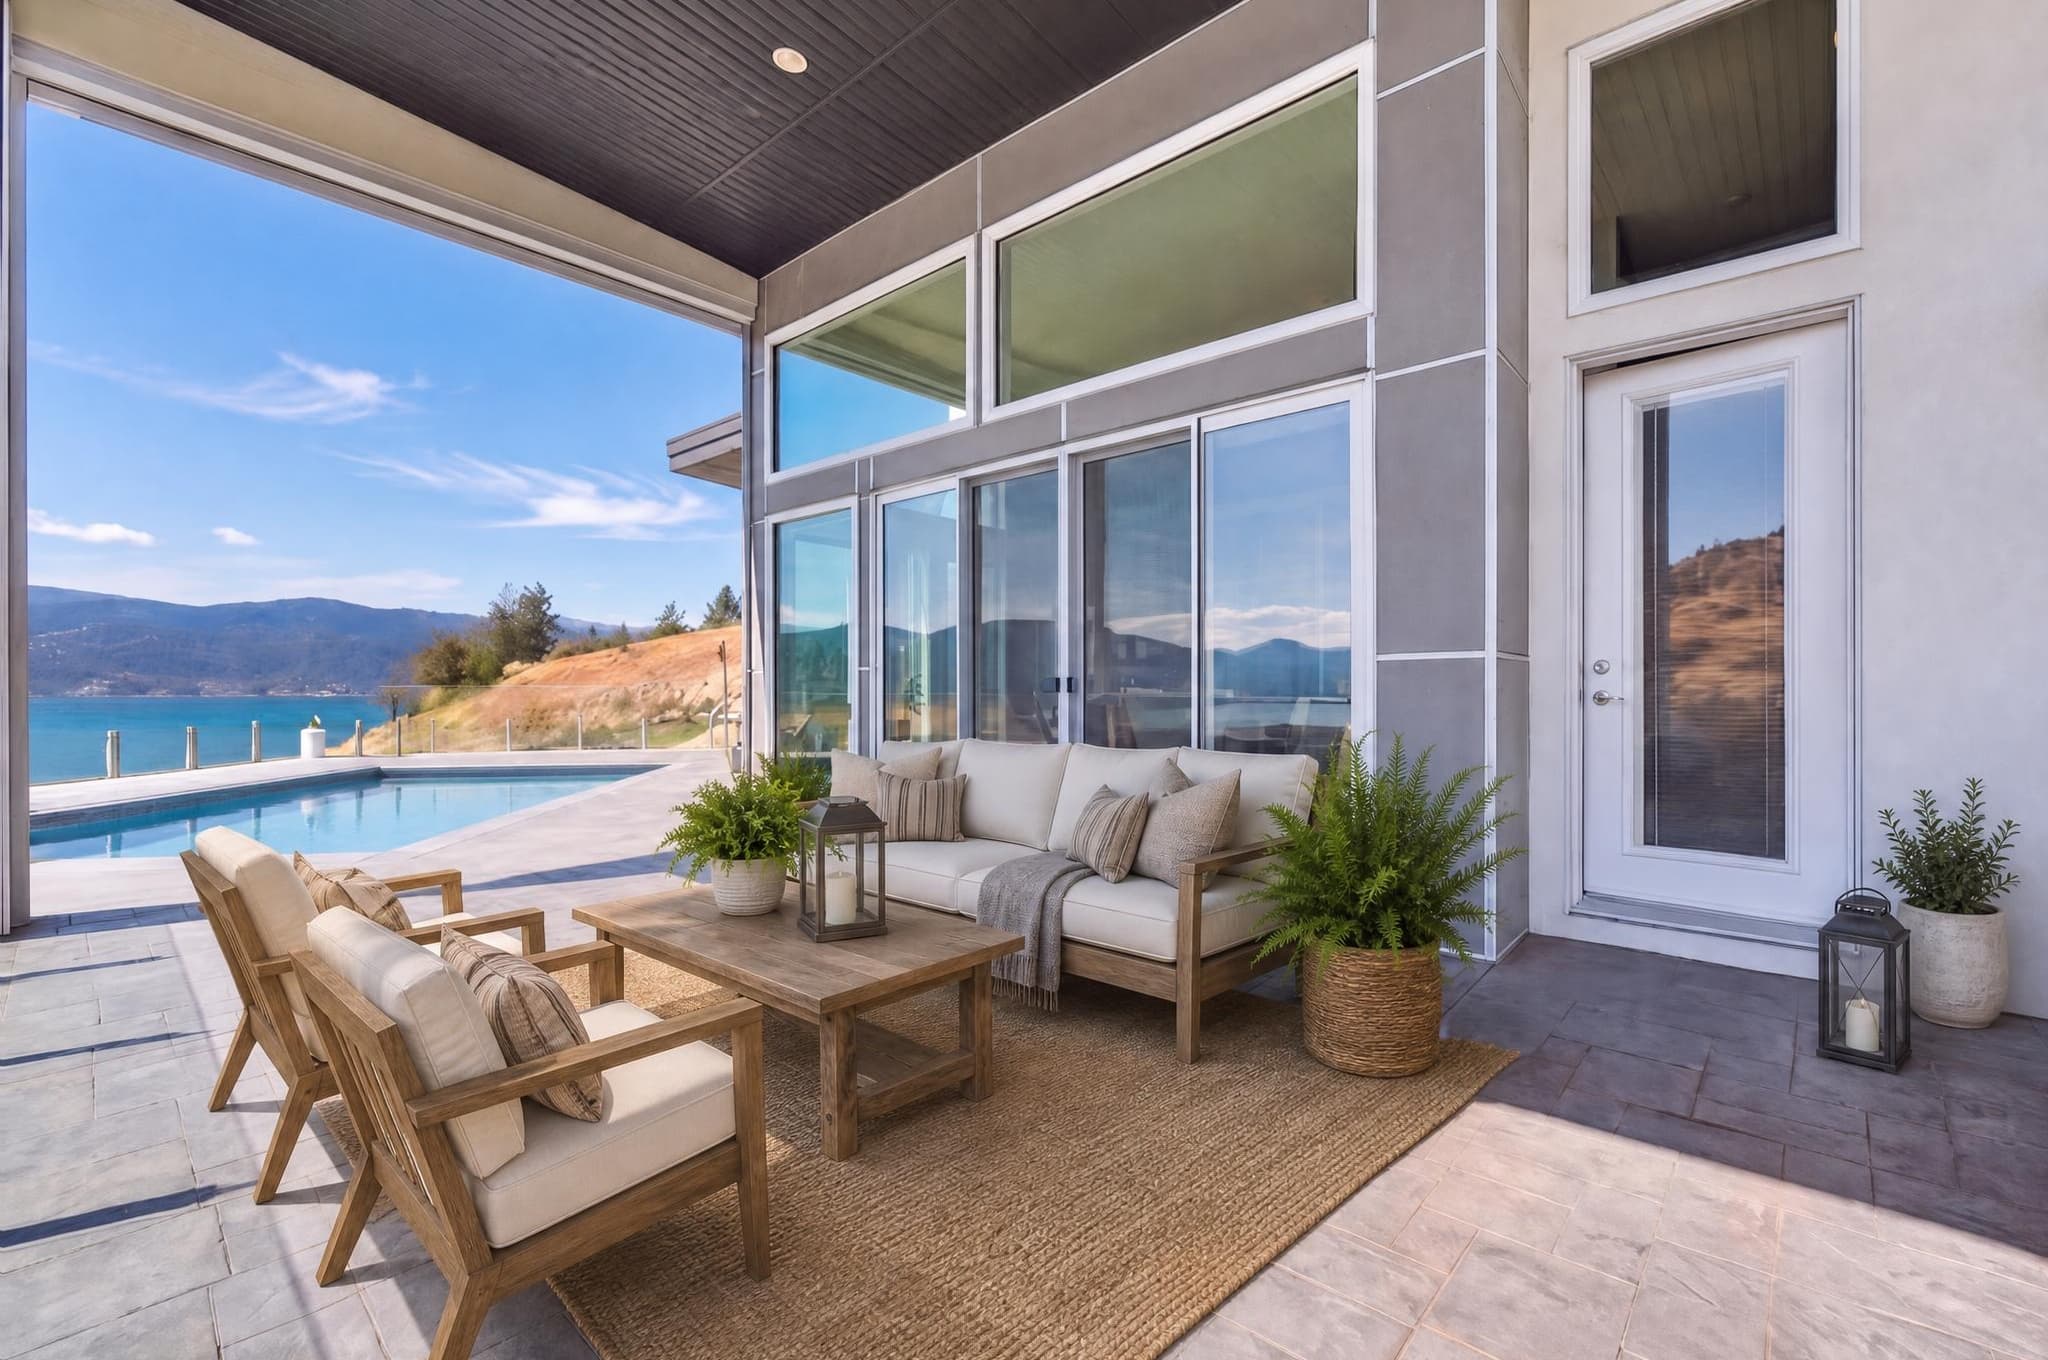
Check the photos together
A photo can be well edited and still not fit the gallery. Compare it with the photos around it for exposure, contrast, white balance, saturation, crop and time of day. Rooms can have different light, but the editing shouldn't look like it came from different photographers.
One of my early galleries had grey walls that looked green in one photo, pink in another and neutral in the next. It is still the example I think of when checking a set for consistent colour.
Corrected verticals and consistent colour improved my work more than dramatic editing did. Lens distortion took me longer to understand than exposure. Looking at the gallery together catches problems that are easy to miss when editing one frame at a time.
Look at the whole set at thumbnail size before your next full-size pass. Thumbnails show you the flow, accidental repeats, missing rooms and the one photo that's noticeably darker, warmer or more saturated than the rest.
Open the exports before sending
Keep a high-quality finished edit and export a separate delivery set for where it's going. Check the size, aspect ratio, colour space, file type, compression, names, order and total count. Requirements change, so use the current specs for the MLS, portal, client, print piece or website receiving the files.
Relight the approved photo, then run the same close-up and delivery checks.
Real estate photo editing checklist FAQ
What should I check first when editing real estate photos?
Back up the originals, cut the failures and duplicates, then make sure the photos you've picked cover the property properly. Don't start detailed retouching until the working set is safe and complete.
Should every room be edited the same way?
Hold every room to the same standard, but don't use identical slider settings. Different rooms need different exposure and colour. The finished gallery should feel like one set without flattening the real differences in materials and light.
How far can object removal go?
Removing something temporary, like your own reflection, a loose cable or a small movable item, is usually fine. Removing damage, permanent fixtures, the neighbours' buildings, utility equipment or anything else that's really part of the property can mislead people. Keep the original.
Why review real estate photos at 100%?
At full size you'll see halos, rough masks, repeated clone texture, over-sharpening, colour noise, broken window edges and reflection mistakes that a gallery thumbnail hides.
What export settings should I use?
Match what the destination currently asks for in size, file type, colour space and file size. As a rule, keep a high-quality finished edit, export a separate delivery set, and open those delivery files yourself before you send them.