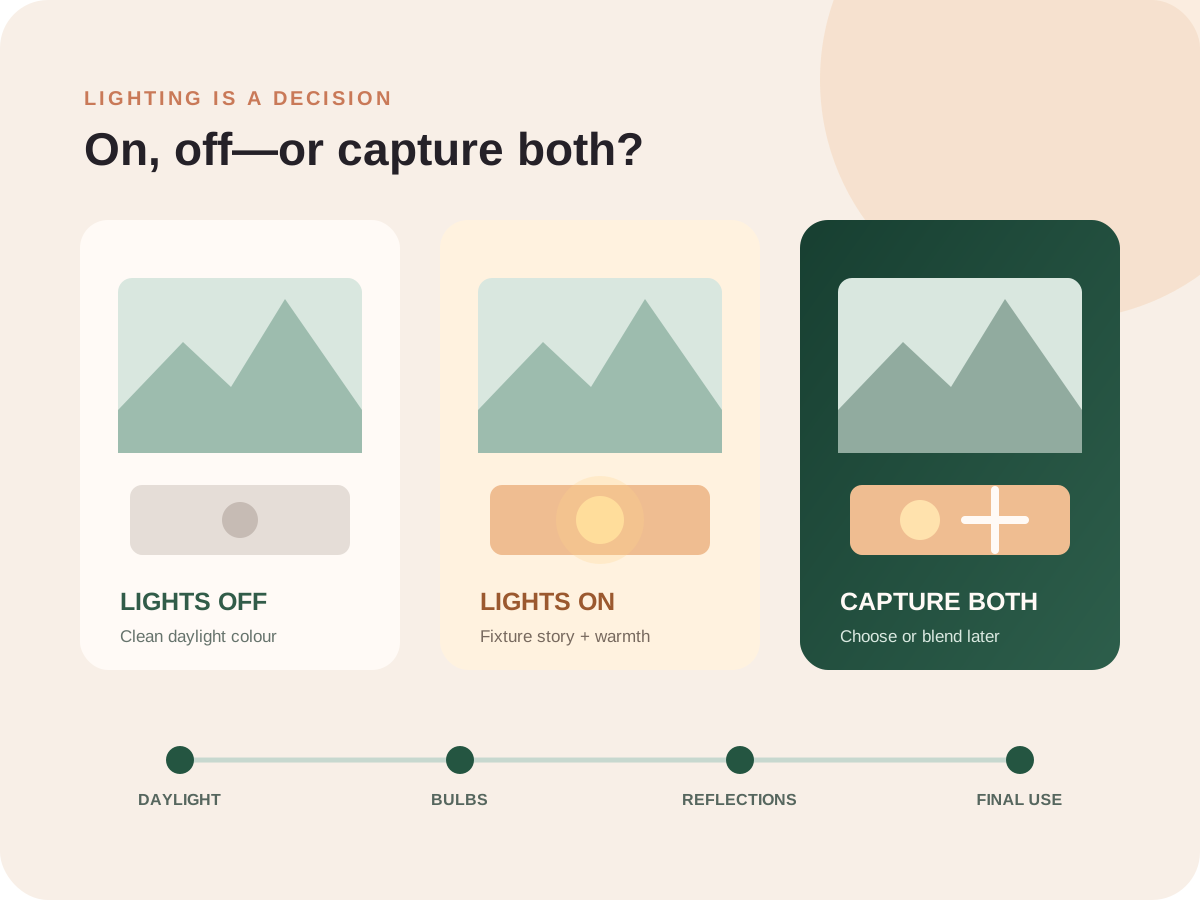
If the windows are already lighting the room nicely, leave the lights off. If a pendant, a lamp or a feature light adds something, turn it on. And if you can't decide, don't stand there debating it. Leave the tripod where it is and shoot the room both ways. That's one extra bracket, which is a lot quicker than fixing the wrong call in editing.
In this guide
Should these lights be on?
When lights improve the photo
Pendants and under-cabinet lights are part of what the buyer is paying for. Show them working.
When the window can't light the room on its own, a few matching, diffused lights will lift it.
Porch, path and window lights show people what it's like to arrive in the evening.
Only switch on the lights you want in the picture, then look at the room with your own eyes, not just the histogram. A pendant over the kitchen island earns its place. So does the lamp that makes a reading corner feel lived in. A closet light glowing through a half-open door doesn't, and neither does every room down the hall lit at a different brightness. It just gives the eye more to sort through.
When lights off looks better
Good window light is hard to beat. Soft daylight keeps white walls white and wood the colour of wood. Add a few warm ceiling lights and you now have two colours of light fighting over the same surfaces. You also lose the natural direction of the shadows and pick up bright pools on the ceiling.
Leave them off when:
- the windows are already lighting the room evenly
- a ceiling fixture is throwing a big halo, or showing up as a reflection
- the bulbs don't match and you're getting green, magenta or orange patches on pale walls
- it's architectural or high-end work, where the natural light and true material colour matter more than the usual listing look
One caution. Lights off isn't an excuse to underexpose. Bracket the room or light it properly.
Control mixed colour before the shoot
Treat those numbers as rough. Real bulbs drift green or magenta too. The trouble starts when warm bulbs and blue window light land on the same wall. No white-balance setting can make both neutral, because you're asking one slider to fix two different colours. You can swap the odd bulbs out, group lights by colour, turn down whichever source is weaker, or shoot it both ways. Failing all that, correct small areas locally, and gently.
On one shoot, warm ceiling lights, blue skylight and green light reflected from trees all fell across the same living area. No white-balance setting could fix all three. I left the lights off where daylight was already doing the job and switched them on only in rooms that needed them.
When the choice is less obvious, I keep the camera still and shoot both versions. That gives me, or the editor, a cleaner frame to choose from and the option of a subtle blend.
Decide how far to open the blinds
Open blinds usually make a room look bigger and brighter, so that's the default. Angle them or close them part way when the sun is throwing hard stripes across the floor, the neighbour's wall fills the window, privacy matters, or reflections are hiding the room.
| Condition | Best starting move |
|---|---|
| Soft exterior light | Open everything. Bracket enough to hold detail in both the window and the room. |
| Hard direct sun | Angle or diffuse the blinds, come back at a different time of day, or frame around the worst of the stripes and deep shade. |
| Distracting adjacent view | Close them just enough to calm it down. Don't hide the fact that there's a window, or what's really outside it. |
| Twilight view | Keep the glass clear of interior reflections. Expose for the outside before the sky turns flat black. |
Use a locked camera for lights-off and lights-on versions
If a room could go either way, make the decision later, not on site. Leave the tripod and framing exactly where they are. Shoot the full bracket with the lights off, then shoot it again with your chosen lights on. Now you have a clean choice, plus a pair you can blend if that turns out to be the answer.
- HDR brackets hold the window and shadow detail. Don't let them flatten every surface.
- Bounced or off-camera flash gives you clean colour and shape. It isn't there to wipe out the room's own light.
- Nothing moves between the two versions. Camera position, focal length, focus and styling all stay put.
- Don't blend shadows, reflections or lights that couldn't exist together.
- When a blend starts to look engineered, go back to the simpler frame.
Check mirrors, glass, screens and glossy surfaces
Switch the lights on and the mirror suddenly shows you, the tripod, the flash, a cable and the room next door. Shower glass, windows, the fridge and the TV can do the same. Walk the frame before every shot.
Move the camera up, down or sideways before you plan on retouching. Check what the mirror shows beyond the room, too.
A dark cloth or a small change in position will cut most reflections. This matters most after sunset.
Taps, fridges, range hoods and polished counters all pick up hot spots.
Turn TVs and monitors off, unless the client has specifically asked for a neutral, licensed screen image.
Use real exterior and interior fixtures to guide the eye
At twilight, turn on the porch, entry, path and landscape lights that actually belong to the house. Inside, pick the rooms that make a warm, sensible pattern across the front. Every window blazing at once rarely looks right. Watch for lamps blowing out, coloured holiday lights, ceiling fans blurring, and the one dead fixture that spoils an otherwise symmetrical front.
Get the exterior while the sky still has some detail and you can still read the front of the house. Take a daylight version too. It does a better job of showing the architecture, landscaping, access and condition. If someone makes a virtual twilight from your photo later, they need to see the real fixtures clearly. Any glow added in editing has to come from a light that's really there.
Prepare the property's lights before arrival
- Replace dead bulbs, and match the colour of every group of lights that will be in frame.
- Clean lampshades, glass pendants, mirrors, windows and shiny appliances.
- Test the dimmers, under-cabinet strips, exterior fixtures and landscape lights.
- Turn the ceiling fans off early, so the blades have stopped by the time you shoot.
- Set the blinds the same way in rooms that connect.
- Take out coloured bulbs, holiday lights and any smart-bulb scene that isn't ordinary white light.
- For twilight, step outside and check which lit windows make a balanced front.
- Still not sure? Shoot both.
BoxBrownie's Ask Brad photography Q&A covers some of the same lighting questions. Treat it as a second opinion, and trust what you can see in the room.
Try a gentle evening version and see whether it makes a stronger lead photo.
Real estate lighting FAQ
Should all lights be on for real estate photography?
No. Matching lights can make a room feel warm and show off the fixtures, but strong daylight usually gives cleaner colour with the lights off. Decide room by room. If you can't decide, lock the tripod and shoot it both ways.
What should I do when light bulbs are different colours?
If you can, swap or match the visible bulbs before the shoot. If you can't, take one frame with the lights off and one with them on, then use the cleaner one or blend carefully. A single white-balance setting can't fix several colours of light landing on the same wall.
Should blinds be open for listing photos?
Usually, yes. Open blinds show off the windows and let the daylight in. Angle them or close them part way for hard direct sun, privacy, a neighbour's wall filling the view, or glare. Rooms that connect should match.
Should exterior lights be on during daytime photos?
In bright sun they barely show and can leave small orange dots in the photo. On an overcast day, in a shaded entry or late in the afternoon, they can help mark the front door. If the fixtures matter to the listing, shoot it both ways.
Do twilight photos need every light turned on?
No. Use the real fixtures that light up the architecture, the entry, the paths and the outdoor spaces. Watch for lamps that blow out and rooms glowing at different brightness. Turn off coloured holiday lights unless they really are a feature of the property right now.
Can editing fix lights that were off?
Editing can fake a glow, but photographing lights that actually work is safer and more honest. Any light added later has to look physically possible. If a fixture is broken, get it fixed rather than hiding it.