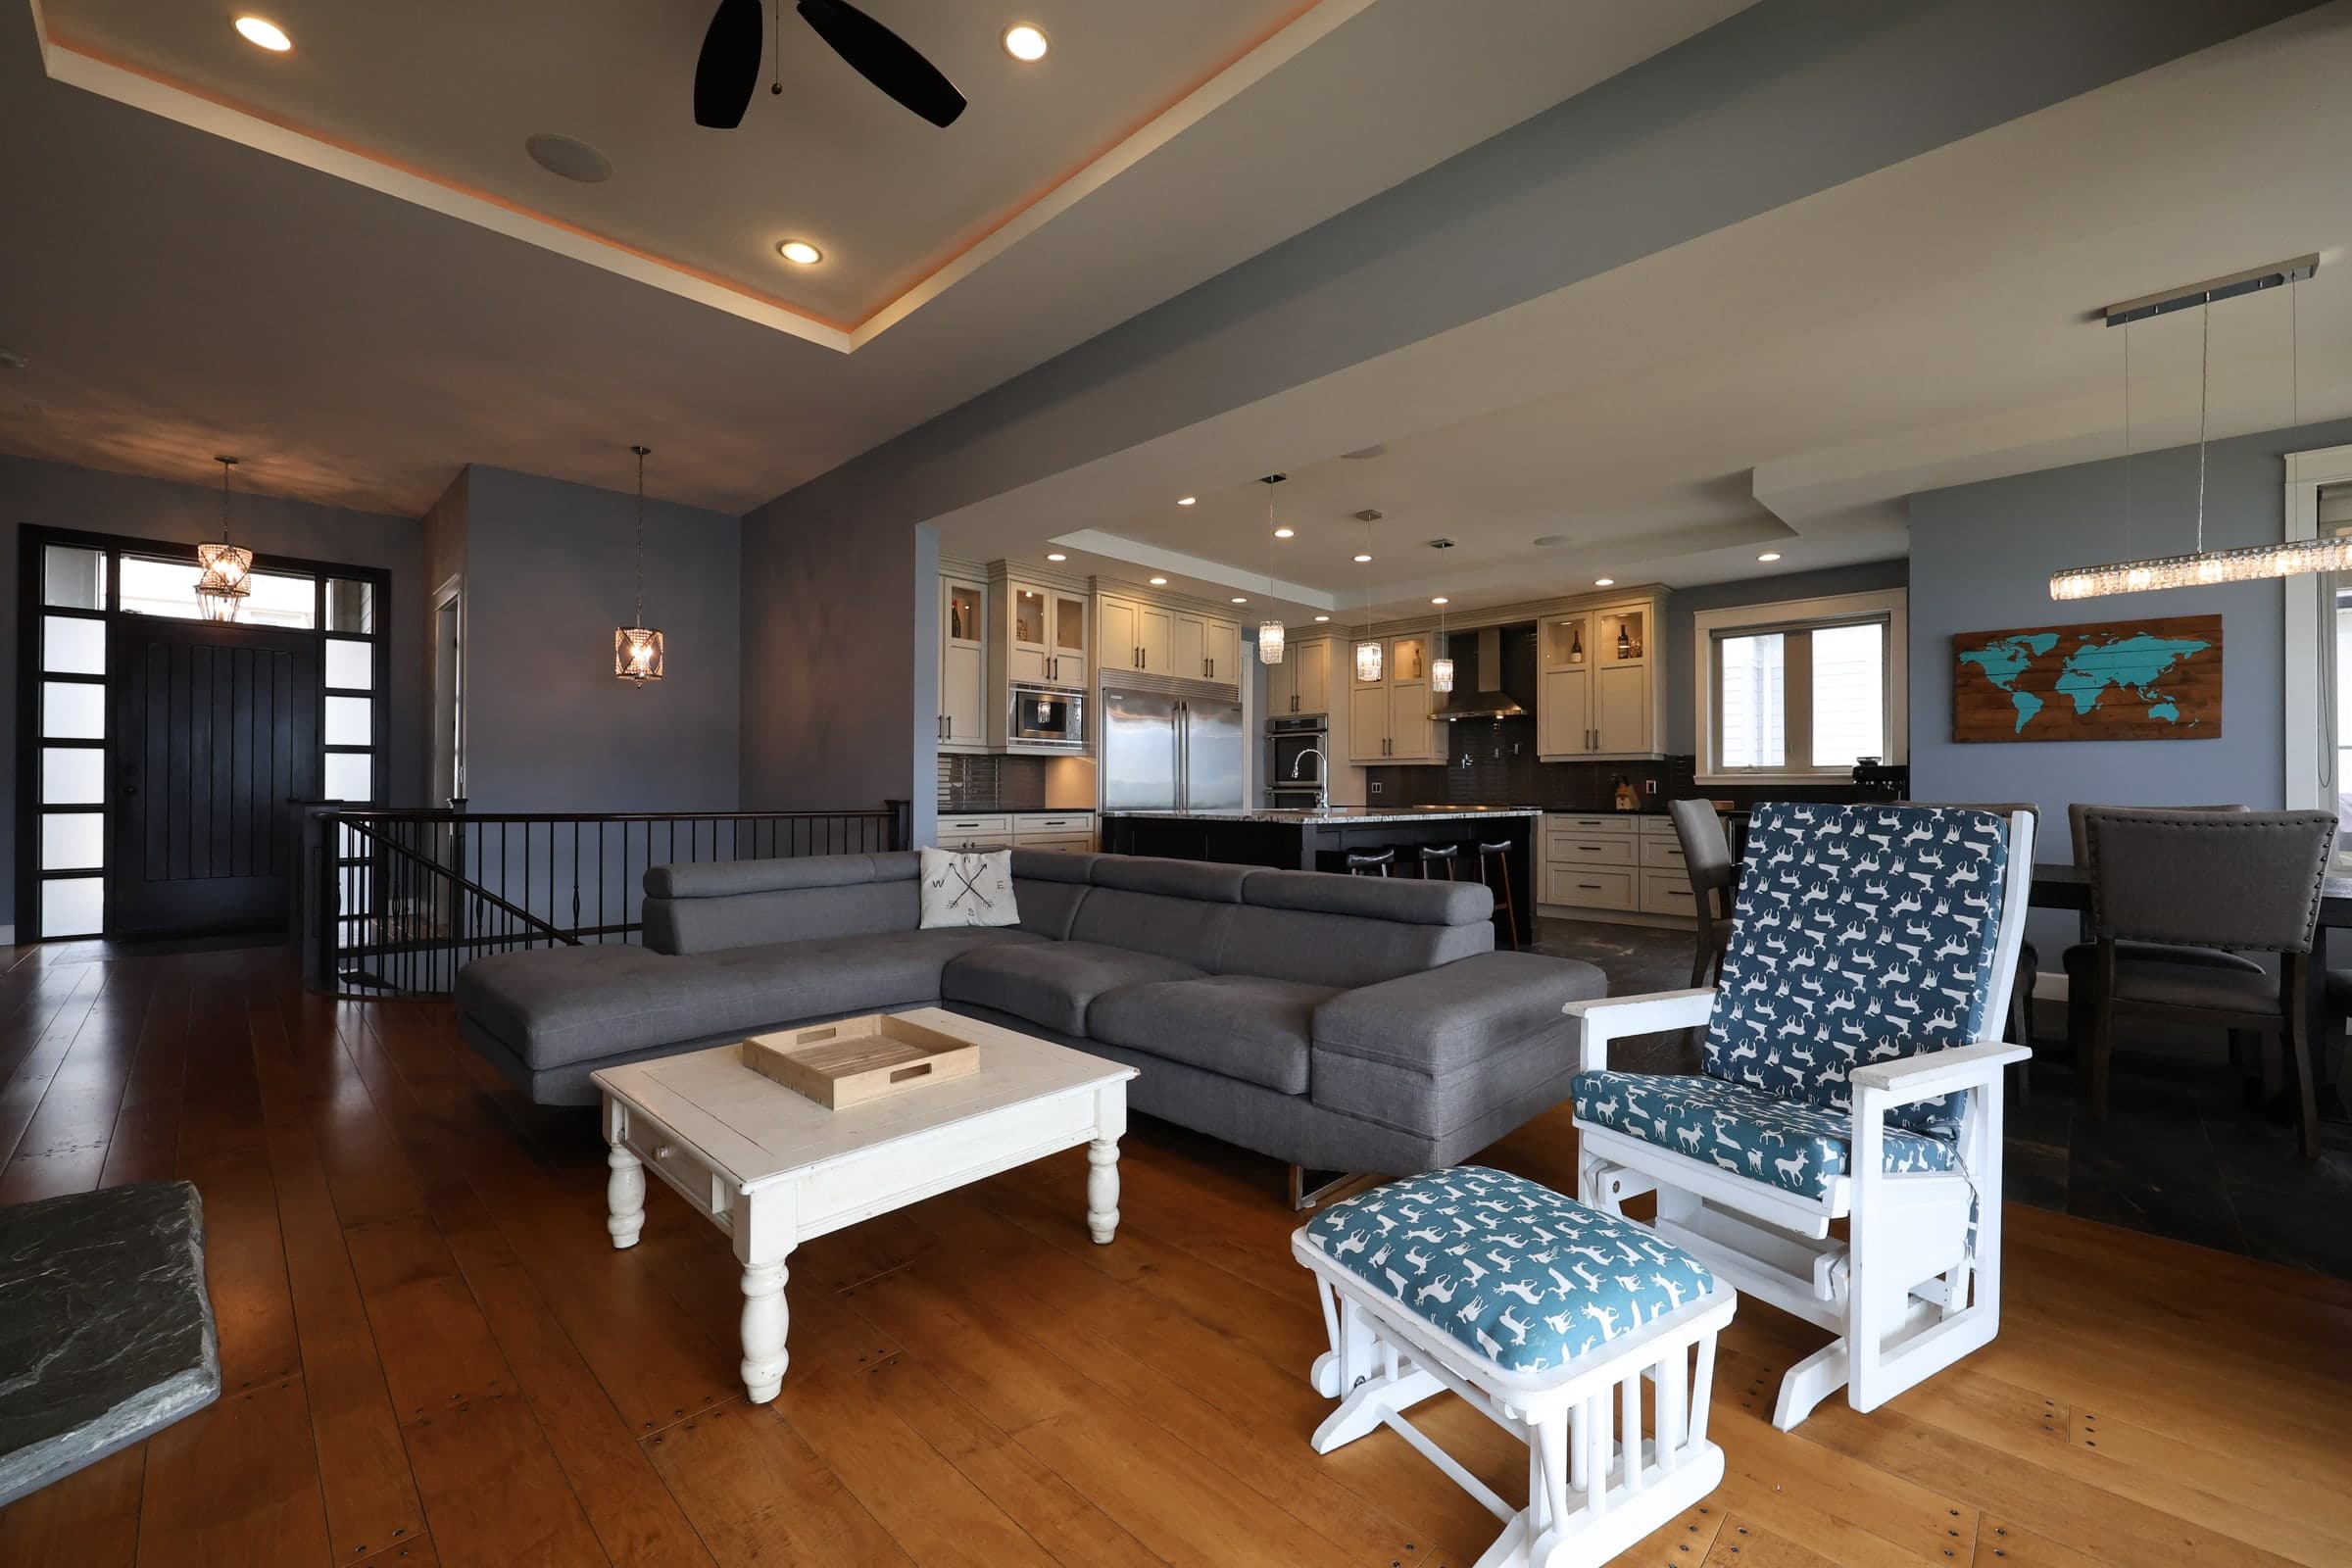
Start by lifting the room, not the bright windows. Adjust exposure, then use local masks where the shadows still need help. If the dark areas turn noisy or lose their colour, you may be asking more of the file than it can give.
In this guide
“Too dark” can mean four different things
A photo can be too dark overall, have a few areas that are blocked up, look flat because nothing is really black or white, or just be lit in a way that hides the depth of the room. There's no one slider for all of that. Push Exposure too far and you wash out the windows, flatten the furniture and turn a believable room grey.
The midtones, walls, floor and furniture are all too dark.
You can't make out a doorway, the ceiling or the foreground.
It's bright enough, but nothing is really black or white.
The exposure is fine, but the room still feels dull or disjointed.
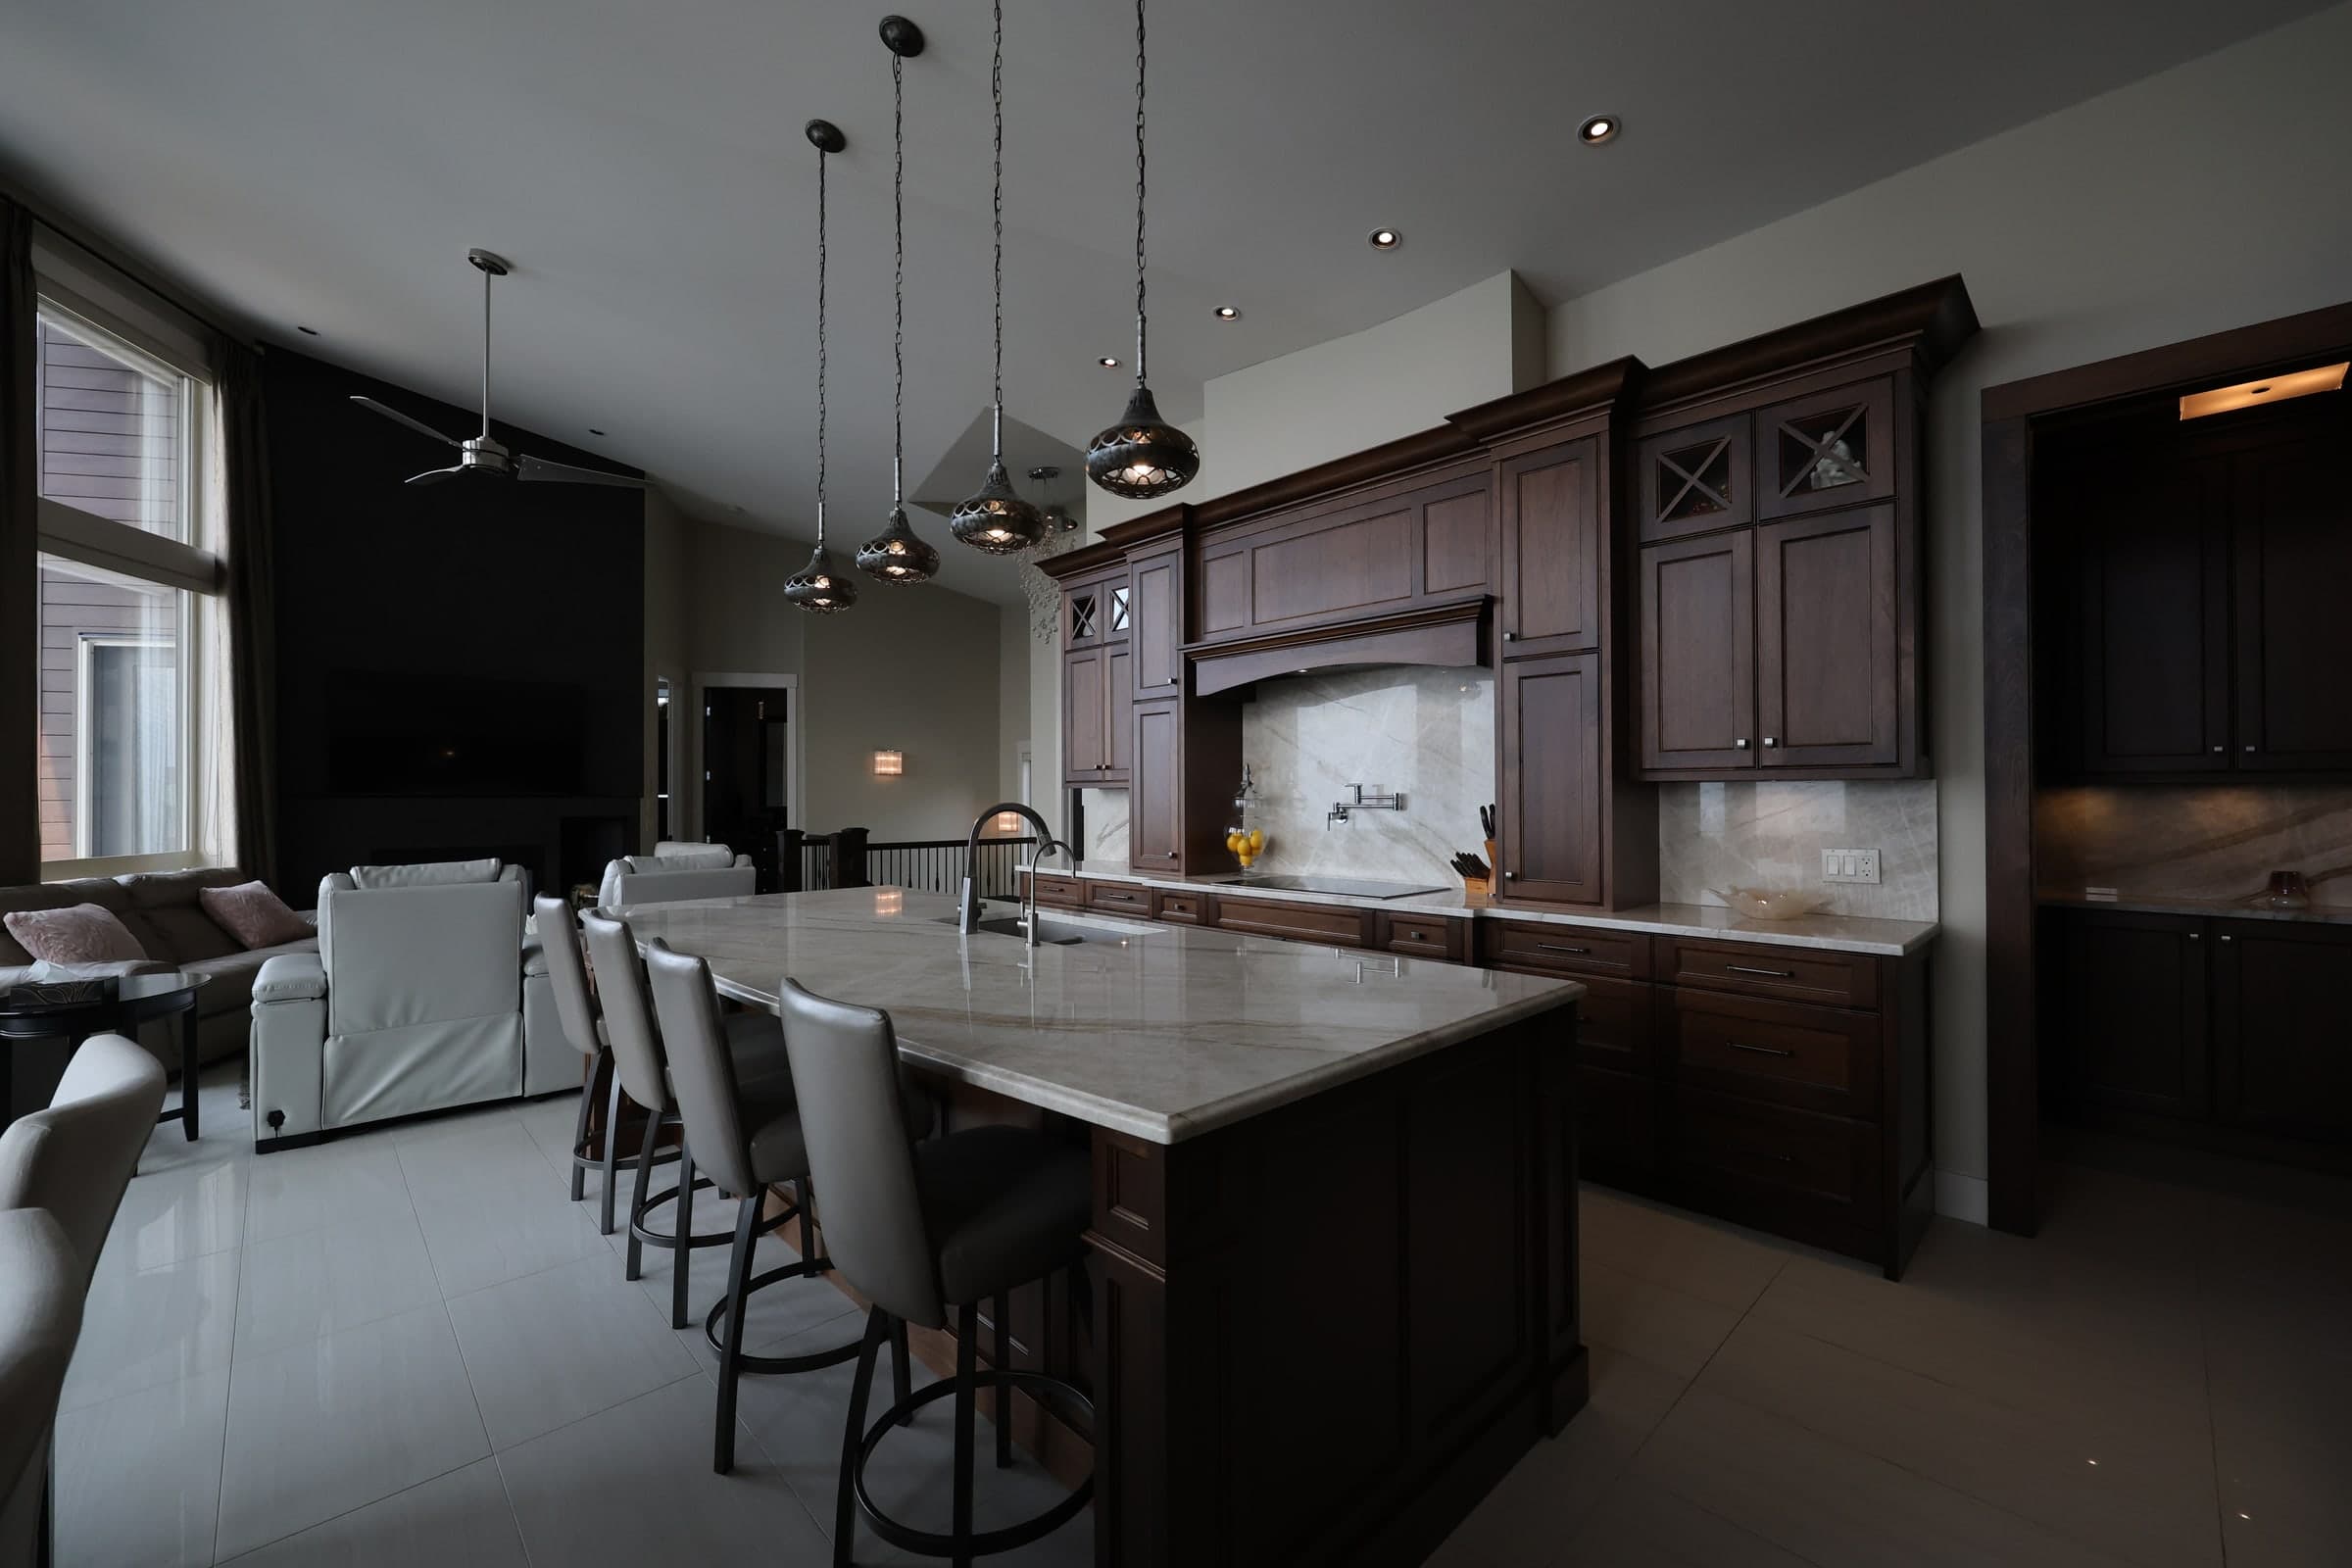
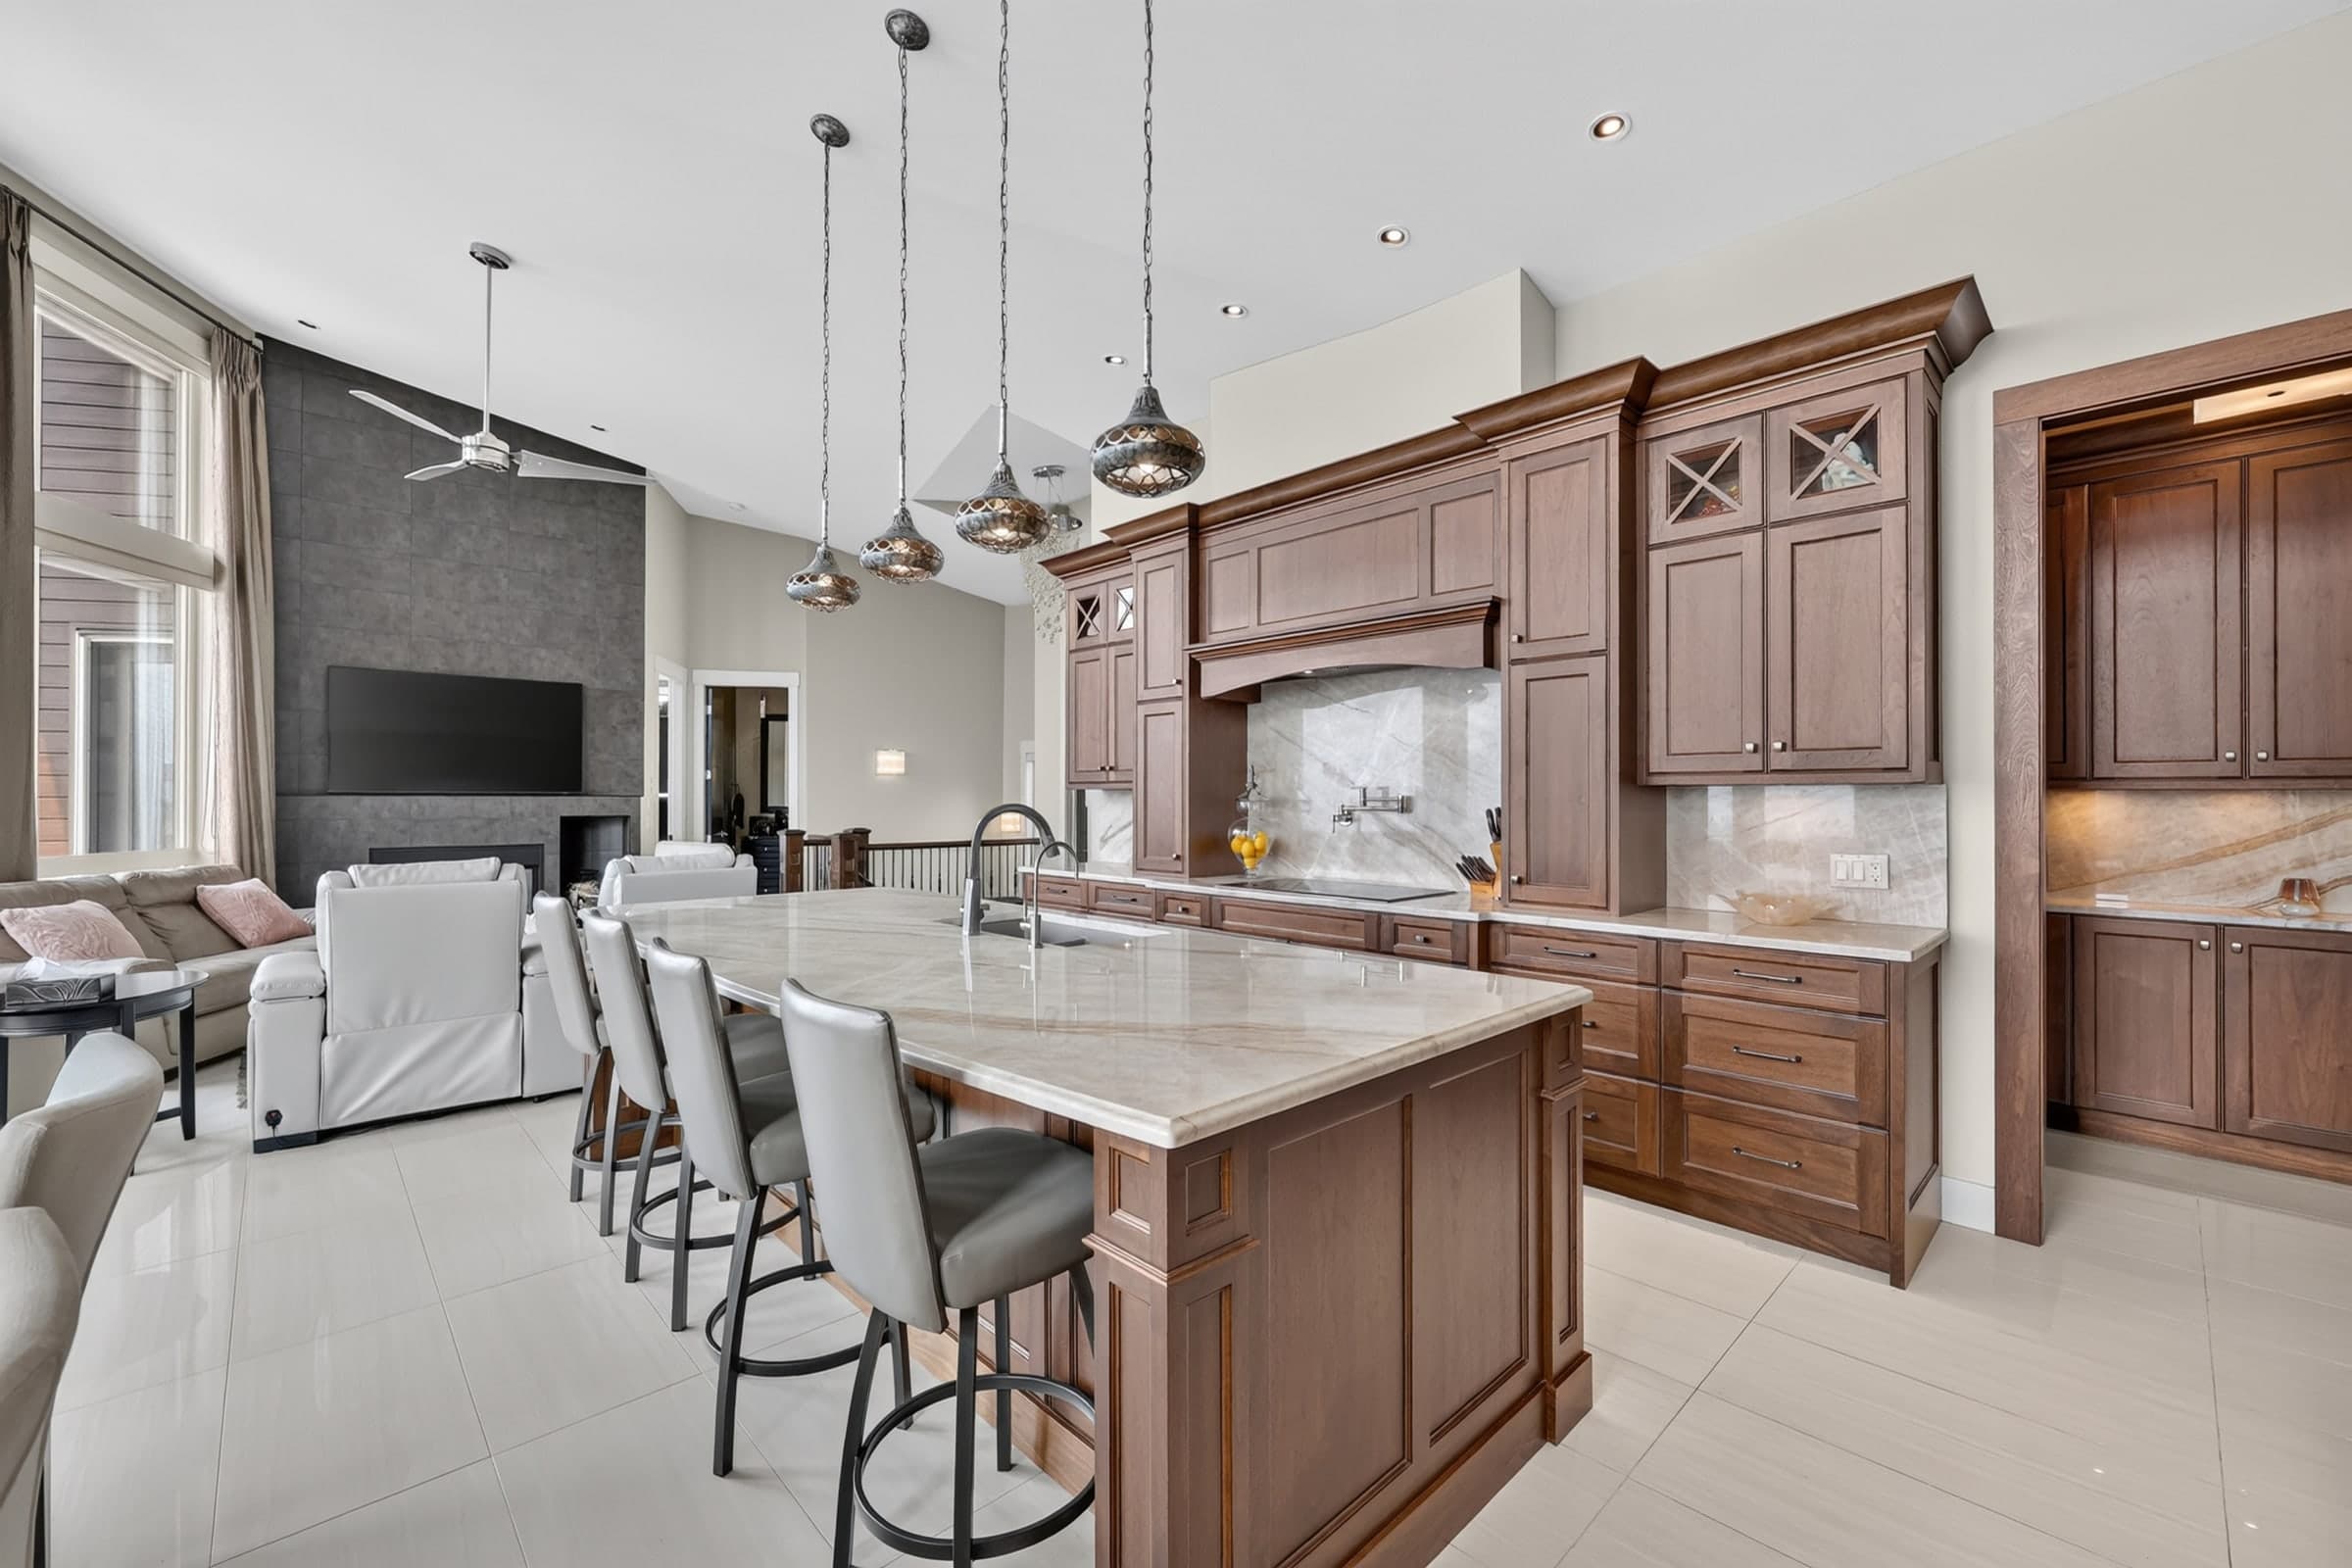
The recovered version lifts the room without flattening the dark cabinets or washing out the windows. Look at the ceiling, cabinet doors, seating, floor and windows to judge whether it still looks natural.
Exposure correction reveals; relighting redirects
Correcting exposure moves around what's already in the photo. It can lift the room, bring down bright areas and set proper black and white points. Relighting changes where the light seems to come from, its balance or its mood. That helps when the exposure is technically fine but the room still feels flat, uneven or wrong for the look you want.
Don't use relighting to cover up a bad photo. Start with straight lines, surfaces you can read, decent focus and highlights you can bring back. If the photo is sound, new lighting can be a creative next step. If it's missing important detail, fix that in camera first.
A natural brightening order
- Use the best original. Start from the RAW file or the cleanest full-size version, not a copy from social media.
- Set the white balance. Get rid of the overall colour cast before you decide how bright the walls should be.
- Set the midtones. Use Exposure for the room's main brightness, keeping an eye on the histogram and the clipping warnings.
- Look after both ends. Bring down Highlights where you need to, lift Shadows carefully, then set Whites and Blacks so the photo keeps its depth.
- Fix it locally. Mask a dark doorway, ceiling or foreground rather than pushing the whole photo.
- Check at 100%. Look for noise, colour blotches, halos, rough edges and lost detail.
- Look at the whole gallery. Match the brightness and colour to the photos around it rather than perfecting one on its own.
Adobe's Lightroom Classic documentation treats overall Exposure separately from Highlights, Shadows, Whites and Blacks, and recommends watching for clipping at both ends. That's why a natural-looking correction is a handful of small decisions, not one big brightness move.
Windows and mixed colour temperatures need local decisions
A dark room often has a bright window in it. If the window is just bright, highlight recovery or a local mask can hold it while you lift the room. If it's blown to pure white, there's no view left in that frame to recover. Brackets, a lower exposure or a reshoot are the honest way to get it.
Mixed light needs a gentle touch too. One overall temperature change can fix the wall but turn the daylight blue or the lamps orange. Correct the main room first, then use local temperature and tint adjustments on the window side or around the lamps. Adobe's current Camera Raw masking guide covers local exposure, highlight, shadow, temperature and tint adjustments.
Shadow recovery has a visible limit
When you brighten dark pixels, you brighten their noise too. Fine texture can go blotchy, edges can lose colour and smooth walls can band. Noise reduction can soften it, but it can't bring back detail the camera never recorded. Judge the surfaces that matter, like cabinet grain, fabric, flooring, trim and the view outside, not just the histogram.
The texture holds, the colours stay consistent and the shadows still have depth.
Walls go grey, the blacks disappear and colour blotches show up.
Detail falls apart at normal delivery size, even after gentle noise reduction.
There's no real detail left in the blown highlights or black shadows to bring out.
Local corrections make the result feel lit
Use a feathered mask to lift a dark foreground, bring down a window or balance a room next door. Follow the architecture and the direction the light is already coming from. Watch out for bright halos around furniture, corners glowing for no reason, and walls so perfectly even that the natural fall-off of light is gone.
A good test is to switch the edit off and on. The corrected version should feel clearer, not like a different house. Keep the colours of the materials, the shapes of the fixtures, the window shapes and the permanent features the same as the original. If the edit changes what a buyer would think is there, it's gone beyond fixing exposure.
Only relight once the photo passes the exposure, detail and geometry checks. Your first relight doesn't need an email, and adding your email gets you two more free. No card needed.
When a reshoot is the faster answer
Is this file worth editing?
Answer from the original file at 100%, not a small preview.
Lift the overall exposure gently, hold on to the windows, then use local masks for the darkest parts. Check noise and colour at 100%.
- Windows: the view or the window frames are blown out, and they matter to the listing.
- Shadows: important surfaces are still black, noisy or colourless after a modest lift.
- Focus or motion: the important architecture is soft, or something moving is smeared.
- Mixed light: you can't separate the colour casts without ruining the colour of the materials.
- File size: the only file you have is too compressed or too small for what's needed.
- Accuracy: fixing it would mean inventing fixtures, views or other detail.
A reshoot doesn't have to mean a whole return visit. One better angle on the room, one exposure that holds the window or one set of brackets can save hours of guesswork repair. Decide based on what matters most to the listing, not on how much time you've already put into editing.
Brightening dark real estate photo FAQ
Can you fix an underexposed real estate photo?
Often, yes, as long as there's still texture in the shadows and the highlights aren't blown. RAW files usually give you more room than compressed JPEGs. A badly blown or very noisy file may need a reshoot.
Should I raise Exposure or Shadows first?
Set Exposure for the room's midtones, then shape the rest with Highlights, Shadows, Whites and Blacks. If only part of the room is dark, a local mask usually works better than lifting everything.
Why do brightened shadows look grey?
Pushing the shadows hard can wipe out your black point and show low-contrast noise. Bring back a believable black point, ease off the correction, and only brighten the area that needs it.
How do I keep windows from turning white?
Protect them when you shoot, with a lower exposure or brackets. In editing, pull down Highlights or use a local mask on the window. If the pixels are pure white, that frame simply doesn't have the view to bring back.
Can AI brighten a dark listing photo?
AI relighting can create a new kind of light from a suitable photo, but it can't replace detail the photo never had. You still need to compare the result with the original.
When should I reshoot instead of edit?
Reshoot when important windows are blown out, key parts of the room are black or noisy, the focus is soft, there's motion blur, or the fix you'd need makes the surfaces and colours unreliable.